 Gold Pendant of Earring, Taxila 4th Century BCE, Bhir Mound, National Museum New DelhiNational Museum, New Delhi · photo SpeakingArch (Wikimedia Commons) · CC BY-SA ↗
 Gold necklace Bhir Mound, Taxila, 4th Century BCE, National Museum New DelhiNational Museum, New Delhi · photo SpeakingArch (Wikimedia Commons) · CC BY-SA ↗
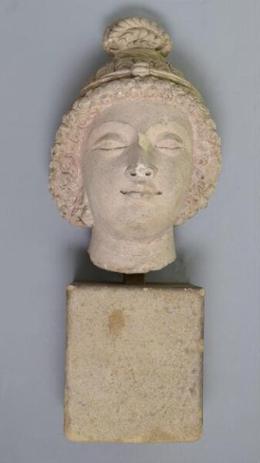
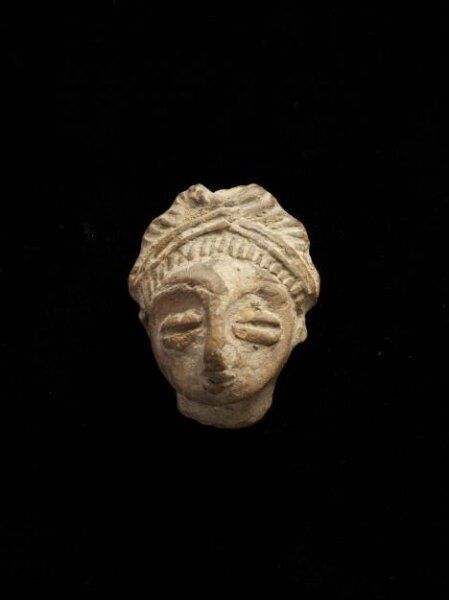 Head, Taxila3rd century BC - 3rd century AD · ٹیکسلا© Victoria and Albert Museum, London ↗
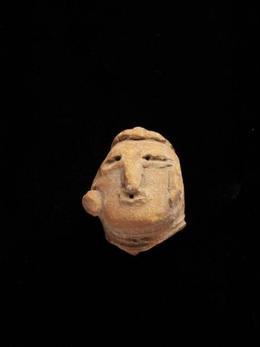 Head, Swat3rd century BC - 1st century AD · سوات© Victoria and Albert Museum, London ↗
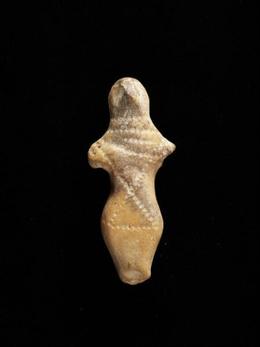 Figure, Swat Valley3rd century BC - 1st century AD · Swat Valley© Victoria and Albert Museum, London ↗
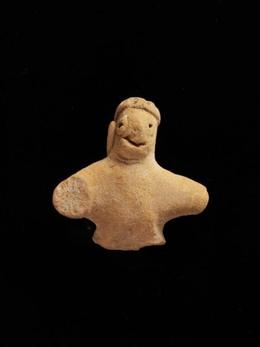 Bust, Swat Valley3rd century BC - 1st century AD · Swat Valley© Victoria and Albert Museum, London ↗
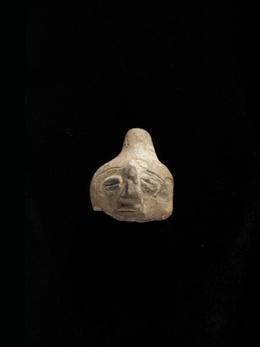 Fragment, Swat Valley3rd century BC - 1st century AD · Swat Valley© Victoria and Albert Museum, London ↗
 Bronze figure of Herakles, circa 200 BCE, Afghanistan, housed in the British MuseumBritish Museum, London · photo SpeakingArch (Wikimedia Commons) · CC BY-SA ↗
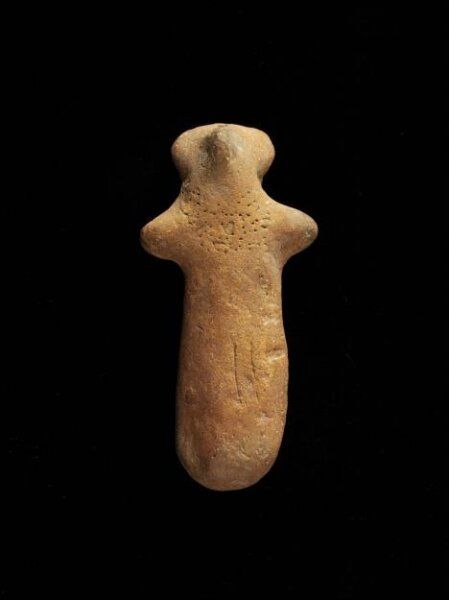 Figure, Taxila2nd century BC - 1st century AD · ٹیکسلا© Victoria and Albert Museum, London ↗
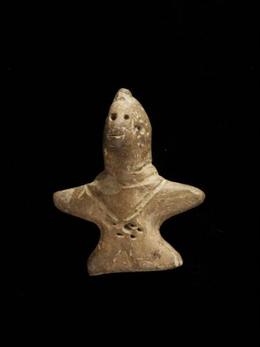 Bust, Swat valleyca. late 2nd century BC - 1st century BC · Swat valley© Victoria and Albert Museum, London ↗
 Ritual Tray showing Indian Humped Bull facing a Lion, 100 BCE -200 CEBritish Museum, London · photo SpeakingArch (Wikimedia Commons) · CC BY-SA ↗
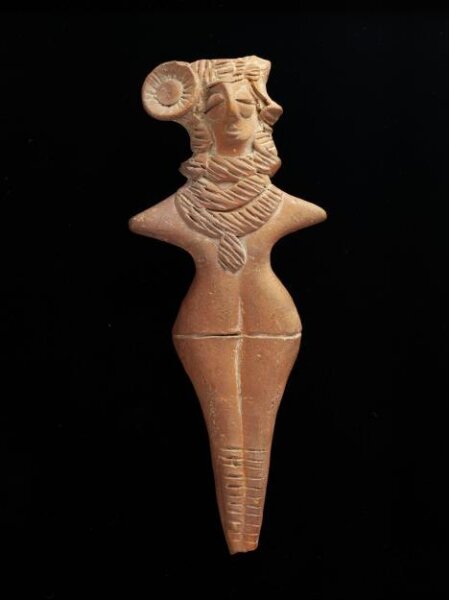 مورتیکلا1st Century BC - 1st Century AD · گندھار© Victoria and Albert Museum, London ↗
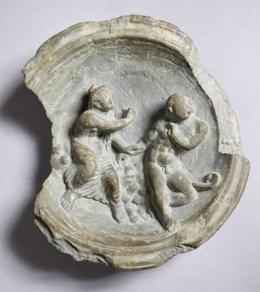 Palette1st Century BC to 1st Century AD · گندھار© Victoria and Albert Museum, London ↗
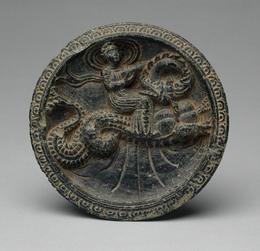 Palette with Sea Nymph (Nereid) Riding on a Sea Monster1st century B.C./early 1st century A.D. · گندھارArt Institute of Chicago ↗
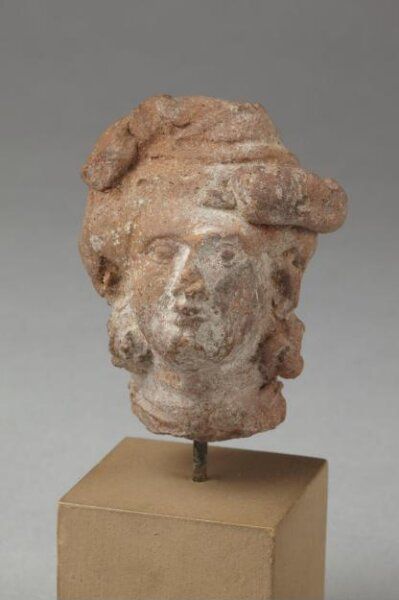 Head, Peshawar1st century BC · پشاور© Victoria and Albert Museum, London ↗
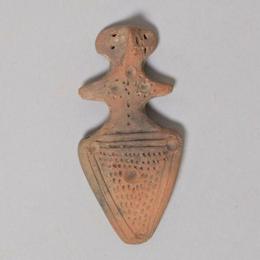 Female figurecirca 1st century BC · پشاور© Victoria and Albert Museum, London ↗
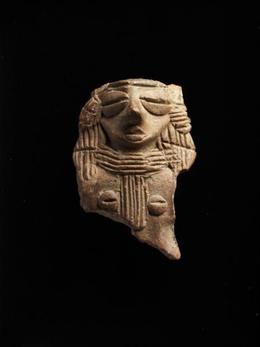 Bust, Peshawar1st century BC · پشاور© Victoria and Albert Museum, London ↗
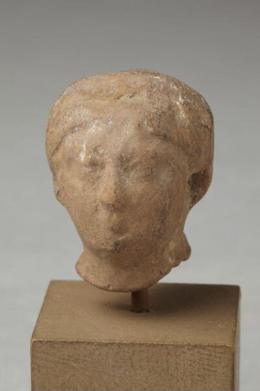 Head, Peshawar1st century BC (?) · پشاور© Victoria and Albert Museum, London ↗
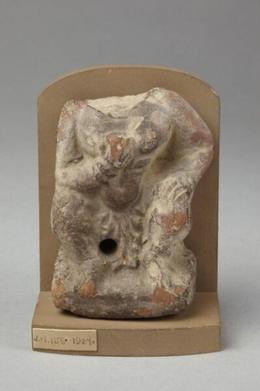 Figure, Peshawar1st century BC · پشاور© Victoria and Albert Museum, London ↗
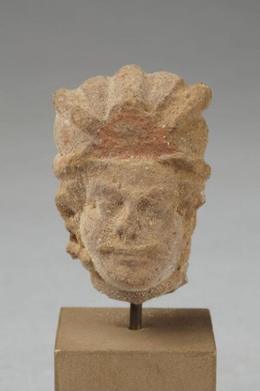 Head, Peshawar1st century BC · پشاور© Victoria and Albert Museum, London ↗
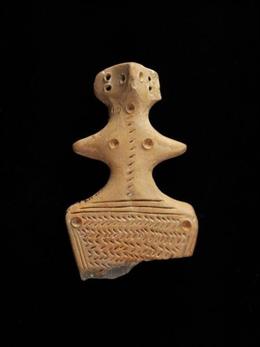 Figure, Peshawar1st century BC · پشاور© Victoria and Albert Museum, London ↗
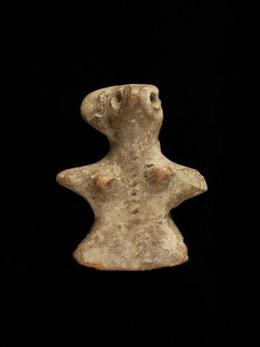 Figure, Peshawar1st century BC · پشاور© Victoria and Albert Museum, London ↗
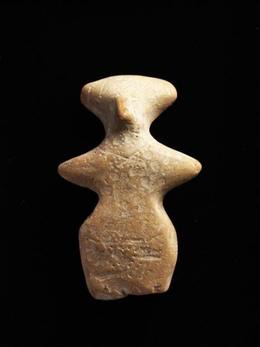 Torso1st century BC · پشاور© Victoria and Albert Museum, London ↗
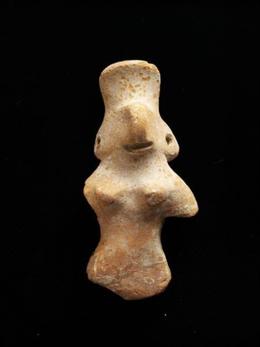 Bust, Peshawar1st century BC · پشاور© Victoria and Albert Museum, London ↗
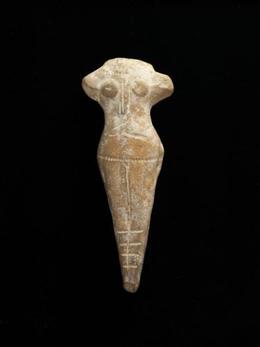 Figure, Peshawar1st century BC · پشاور© Victoria and Albert Museum, London ↗
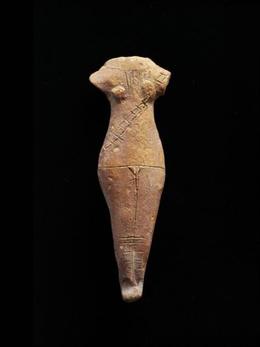 Figure, Peshawar1st century BC · پشاور© Victoria and Albert Museum, London ↗
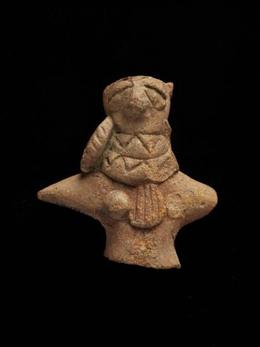 Torso1st century BC · پشاور© Victoria and Albert Museum, London ↗
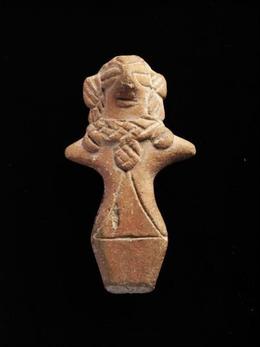 Torso1st century BC · پشاور© Victoria and Albert Museum, London ↗
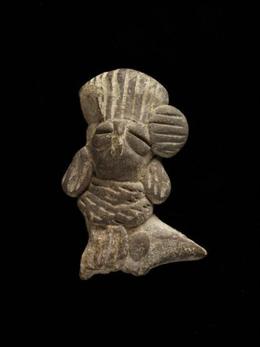 Bust, Peshawar1st century BC · پشاور© Victoria and Albert Museum, London ↗
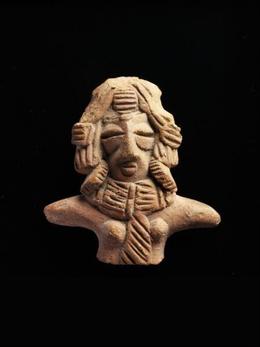 Bust, Peshawar1st century BC · پشاور© Victoria and Albert Museum, London ↗
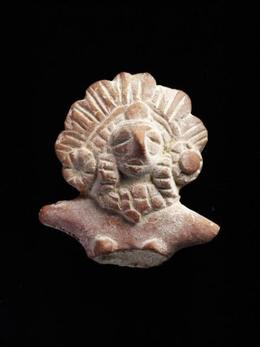 Bust, Peshawar1st century BC · پشاور© Victoria and Albert Museum, London ↗
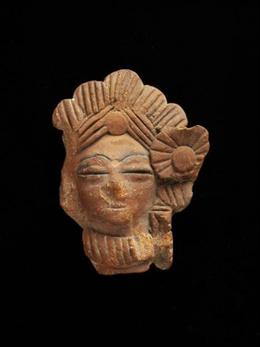 Head, Peshawar1st century BC · پشاور© Victoria and Albert Museum, London ↗
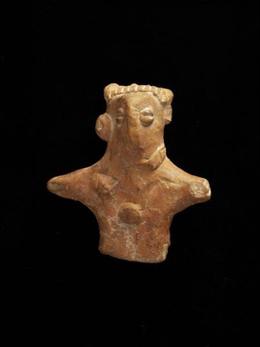 Bust, Peshawar1st century BC · پشاور© Victoria and Albert Museum, London ↗
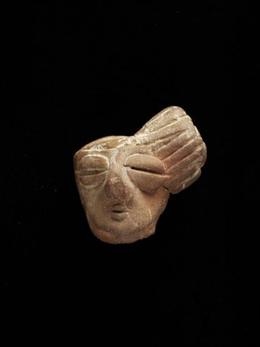 Head, Peshawar1st century BC · پشاور© Victoria and Albert Museum, London ↗
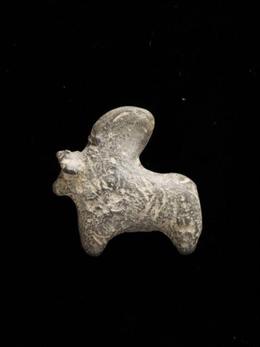 Figure, Peshawar1st century BC · پشاور© Victoria and Albert Museum, London ↗
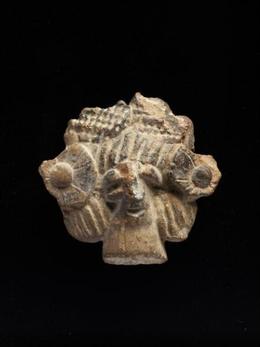 Head, Peshawar1st century BC · پشاور© Victoria and Albert Museum, London ↗
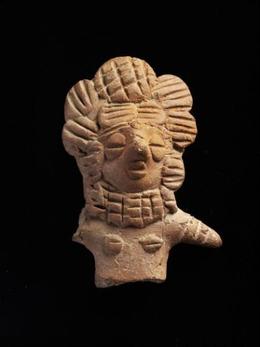 Bust, Peshawar1st century BC · پشاور© Victoria and Albert Museum, London ↗
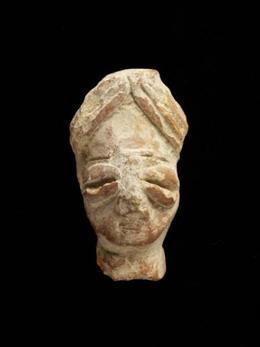 Head, Peshawar1st century BC · پشاور© Victoria and Albert Museum, London ↗
 Pakistan, Swat Valley, Gandhara region, 1st century B.C. Sculpture Gray schist…LACMA, Los Angeles · photo Wikimedia Commons (Wikimedia Commons) ↗
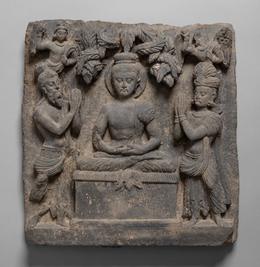 Buddha Worshipped by Indra and BrahmaKushan period, 1st/2nd century · گندھارArt Institute of Chicago ↗
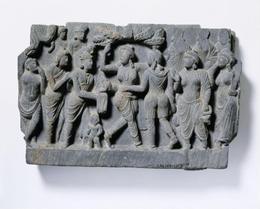 Birth of the Buddha1st century-2nd century · گندھار© Victoria and Albert Museum, London ↗
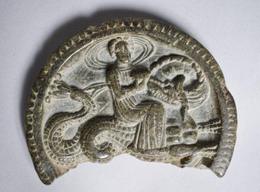 Palette1ویں صدی · گندھار© Victoria and Albert Museum, London ↗
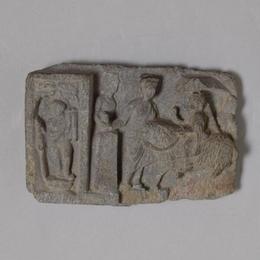 Relief Panel, Gandhara1ویں صدی · گندھار© Victoria and Albert Museum, London ↗
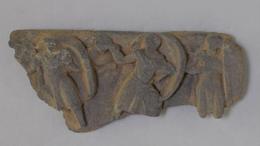 Relief panel, Gandhara1ویں صدی · گندھار© Victoria and Albert Museum, London ↗
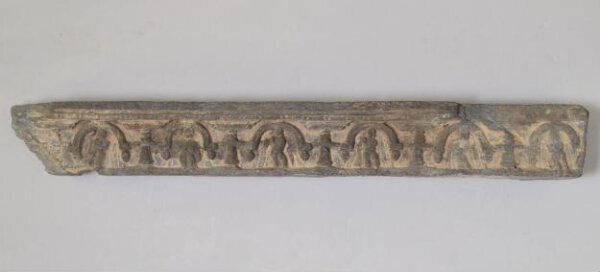 Relief1ویں صدی · گندھار© Victoria and Albert Museum, London ↗
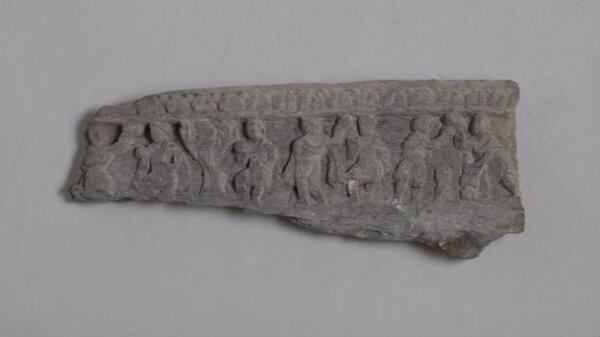 Relief1ویں صدی · گندھار© Victoria and Albert Museum, London ↗
 Cornice fragment1ویں صدی · گندھار© Victoria and Albert Museum, London ↗
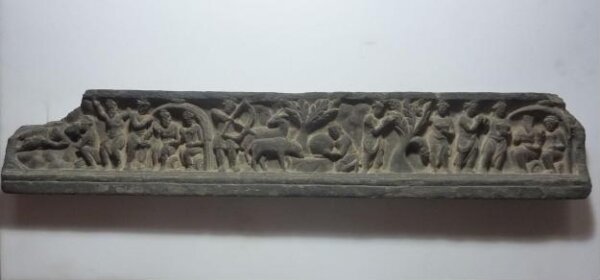 Relief panel, Gandhara1st century to 3rd century · گندھار© Victoria and Albert Museum, London ↗
 Ornamental Dish1ویں صدی · گندھار© Victoria and Albert Museum, London ↗
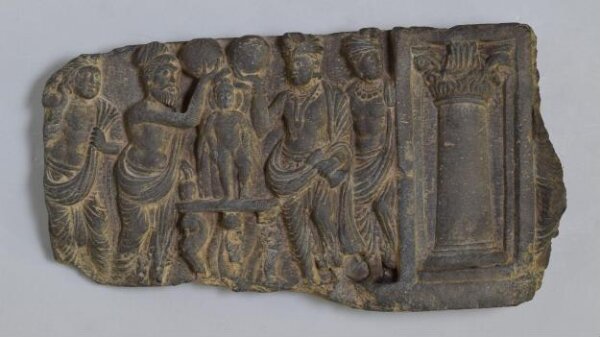 Relief panel, Gandhara1ویں صدی · گندھار© Victoria and Albert Museum, London ↗
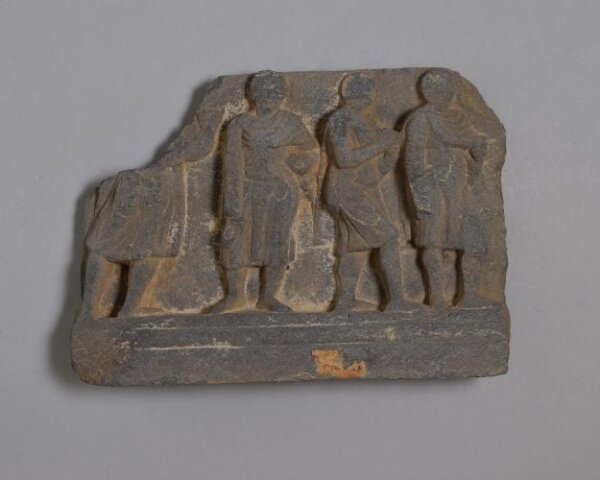 Relief1ویں صدی · گندھار© Victoria and Albert Museum, London ↗
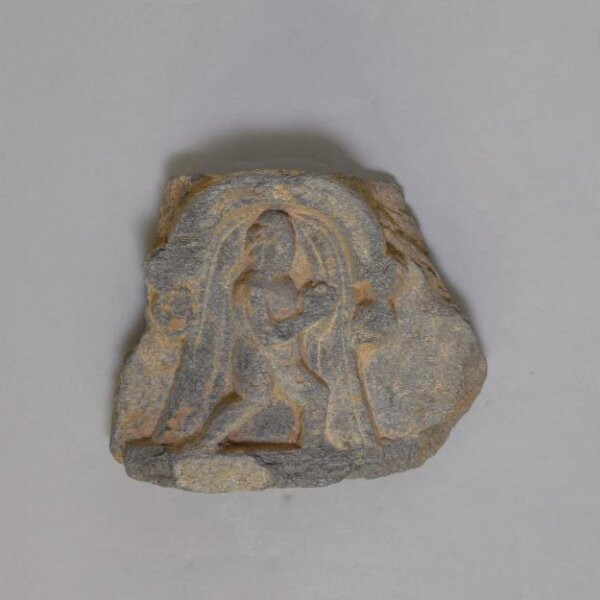 Relief1ویں صدی · گندھار© Victoria and Albert Museum, London ↗
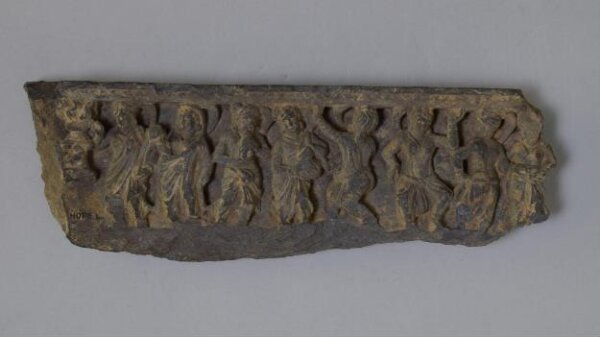 Relief1ویں صدی · گندھار© Victoria and Albert Museum, London ↗
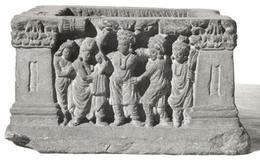
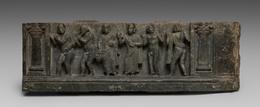 Procession of Non-Buddhists1–100 ای. · Pakistan, Gandhara, Buner area, early Kushan periodCleveland Museum of Art ↗
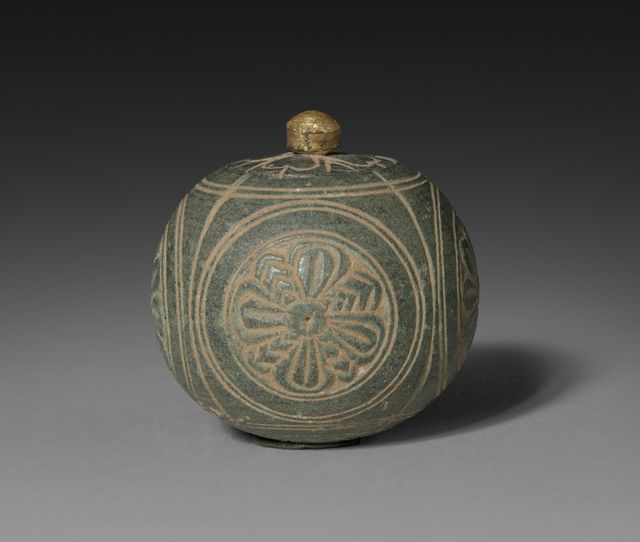 Miniature Stone Reliquary or Toilette Casket1–100 ای. · Pakistan, Gandhara, probably Sirkap, early Kushan periodCleveland Museum of Art ↗
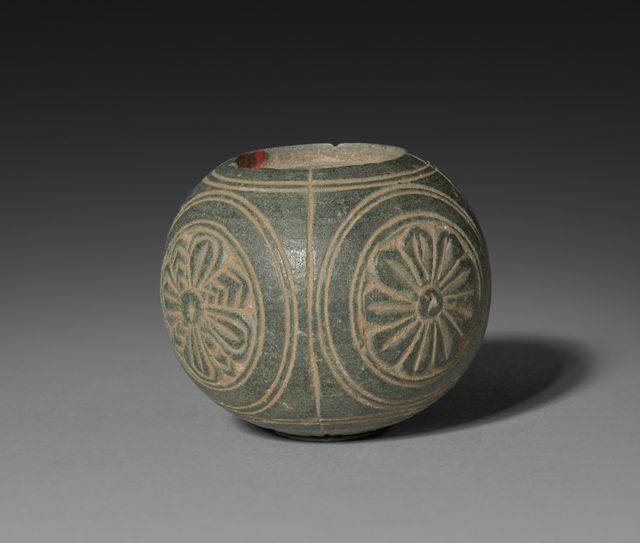 Miniature Stone Reliquary or Toilette Casket1–100 ای. · Pakistan, Gandhara, probably Sirkap, early Kushan periodCleveland Museum of Art ↗
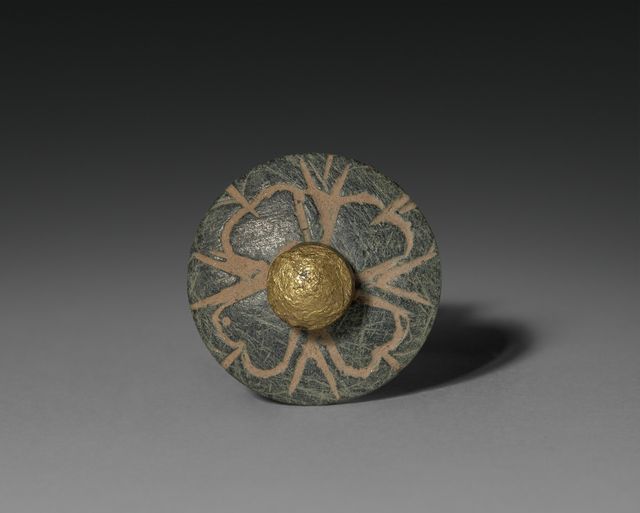 Miniature Stone Reliquary or Toilette Casket (lid)1–100 ای. · Pakistan, Gandhara, probably Sirkap, early Kushan periodCleveland Museum of Art ↗
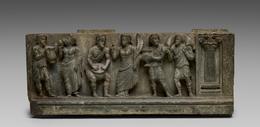 Bacchanalian Scene1–100 ای. · Pakistan, Gandhara, Buner area, early Kushan periodCleveland Museum of Art ↗
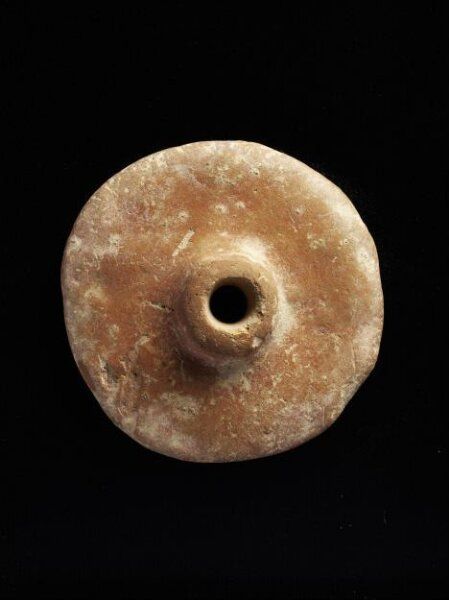 Modelca. 1st century - 4th century · ٹیکسلا© Victoria and Albert Museum, London ↗
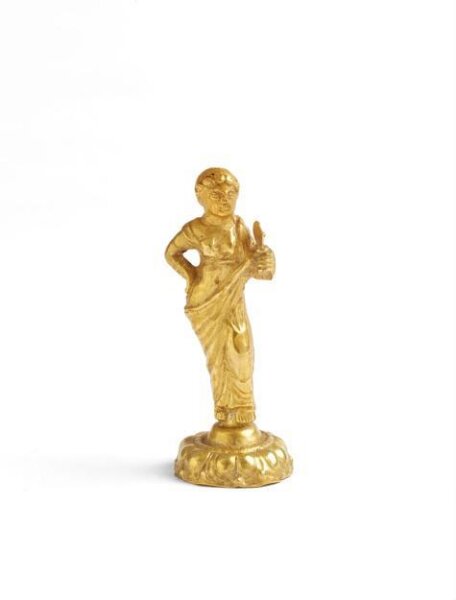 Figure holding a mirror1st century-2nd century · ٹیکسلا© Victoria and Albert Museum, London ↗
 Armlet from Taxila, Gold, circa 1st centre CE, National Museum, DelhiNational Museum, New Delhi · photo SpeakingArch (Wikimedia Commons) · CC BY-SA ↗
 Hair pin, circa 1st century CE, Taxila, National Museum, DelhiNational Museum, New Delhi · photo SpeakingArch (Wikimedia Commons) · CC BY-SA ↗
 Earring (ear pendant) 1st Century CE, Sirkap, Taxila, National Museum New DelhiNational Museum, New Delhi · photo SpeakingArch (Wikimedia Commons) · CC BY-SA ↗
 Gold Earrings 1st Century CE, Sirkap, Taxila, National Museum New DelhiNational Museum, New Delhi · photo SpeakingArch (Wikimedia Commons) · CC BY-SA ↗
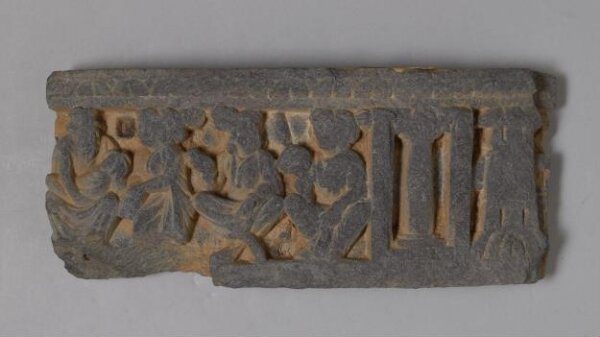 Relief1ویں صدی · Swat Valley© Victoria and Albert Museum, London ↗
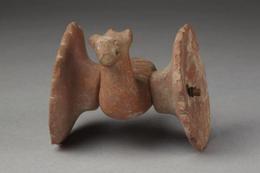 Figure, Peshawar1ویں صدی · پشاور© Victoria and Albert Museum, London ↗
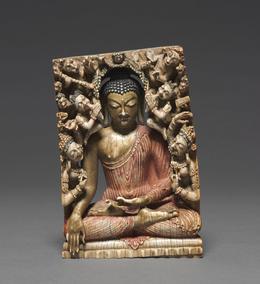
 Buddha in Bhumisparsha Mudra circa 1st-2nd century CE, PeshawarWikimedia Commons · SpeakingArch · CC BY-SA ↗
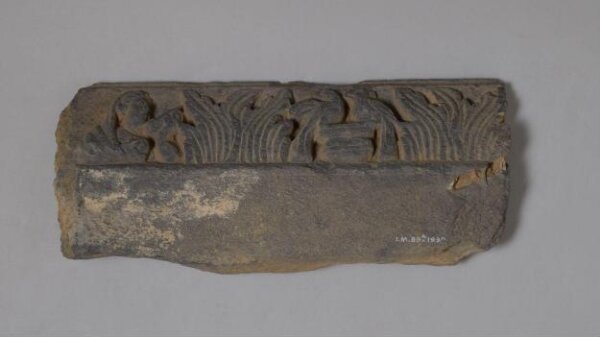 Relief1ویں صدی · Swat Valley© Victoria and Albert Museum, London ↗
 Relief panel, Swat Valley1ویں صدی · Swat Valley© Victoria and Albert Museum, London ↗
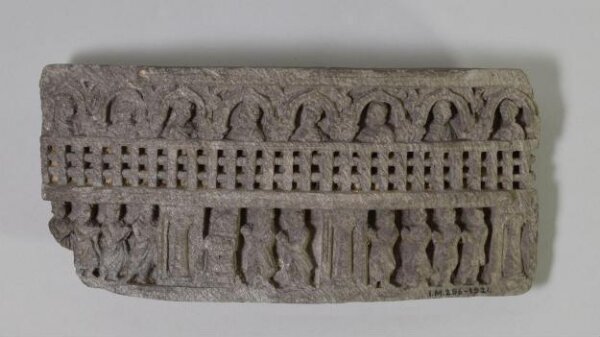 Relief1ویں صدی · Swat Valley© Victoria and Albert Museum, London ↗
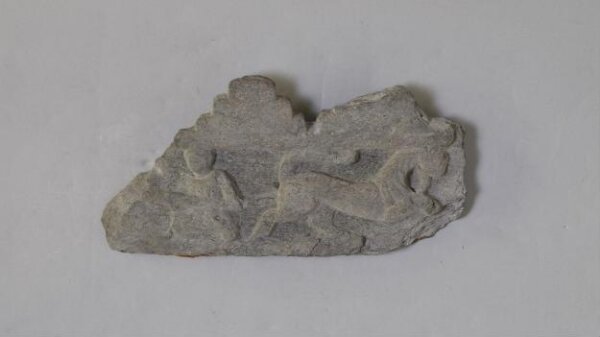 Relief1ویں صدی · Swat Valley© Victoria and Albert Museum, London ↗
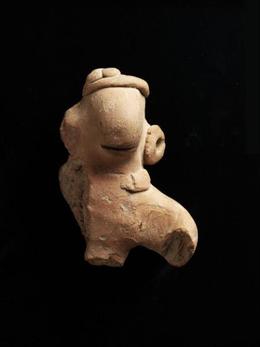 Bust, Swat valleyca. 1st century - 2nd century · Swat valley© Victoria and Albert Museum, London ↗
 Gandhara Corinthian Capital, mid 1st century CE, Butkara I Excavations, Swat MuseumWikimedia Commons · SpeakingArch · CC BY-SA ↗
 Stone palette with Nereids (sea nymphs) riding sea monsters (ketoi), Gandhara, 1-100 CEAshmolean Museum, Oxford · photo SpeakingArch (Wikimedia Commons) · CC BY-SA ↗
 Gandhara, horizontal angular harp, circa 1st century A.D.The Met, New York · photo 1st century A.D. sculptor Photo by Metropolitan Museum of Ar (Wikimedia Commons) ↗
 Gandhara Toilet Tray 1st CenturyAsian Art Museum, San Francisco · photo PHGCOM (Wikimedia Commons) · CC BY-SA ↗
 A gold necklace from Sirkap, Taxila, and dates back to the 1st Century CENational Museum, New Delhi · photo SpeakingArch (Wikimedia Commons) · CC BY-SA ↗
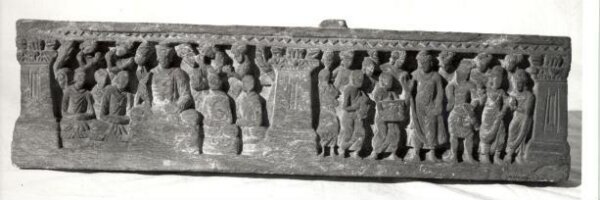
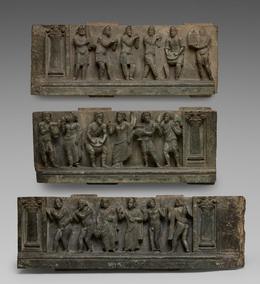 Foreigners and Non-Buddhists Drink, Dance, and Play Music, from a Buddhist Stupa Siteلگبھگ 100 ای. · Pakistan, Gandhara, Buner area, early Kushan periodCleveland Museum of Art ↗
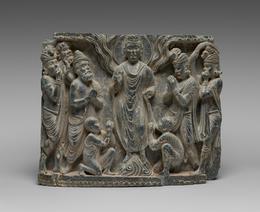 The Great Miracle at Shravastiلگبھگ 100 ای. · Pakistan, Gandhara, Peshawar Valley, early Kushan periodCleveland Museum of Art ↗
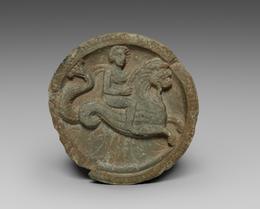 Patera with Man Riding Monster1–200 ای. · India, Gandhara, Taxila, Palera periodCleveland Museum of Art ↗
 Lid or palette showing drunken Heracles, Gandhara, c.1-200 CE, Ashmolean Museum, OxfordAshmolean Museum, Oxford · photo SpeakingArch (Wikimedia Commons) · CC BY-SA ↗
 Singular Gold Earring from Gandhara, c.1-200 CE, Ashmolean Museum, OxfordAshmolean Museum, Oxford · photo SpeakingArch (Wikimedia Commons) · CC BY-SA ↗
 Schist head of Boddhisatva, early 2nd century CE, Gandhara, Fitzwilliam Museum, CambridgeFitzwilliam Museum, Cambridge · photo SpeakingArch (Wikimedia Commons) · CC BY-SA ↗
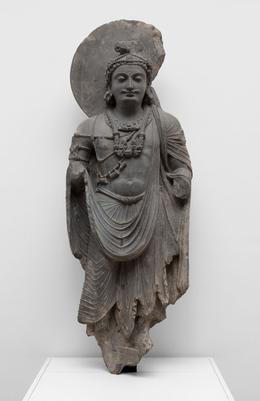 Standing Bodhisattva with Human-Figure NecklaceKushan period, 2nd/3rd century · گندھارArt Institute of Chicago ↗
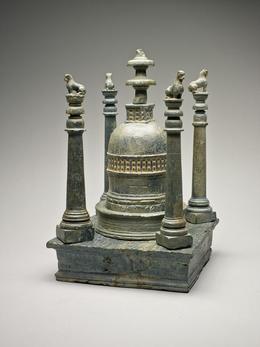 Stupa ReliquaryKushan period, about 2nd century · گندھارArt Institute of Chicago ↗
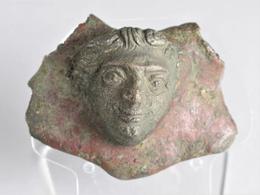 Domestic object2nd century- 3rd Century · گندھار© Victoria and Albert Museum, London ↗
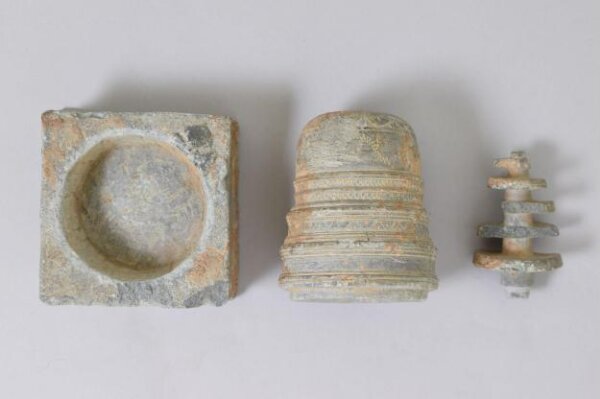 Reliquary2nd century-5th century · گندھار© Victoria and Albert Museum, London ↗
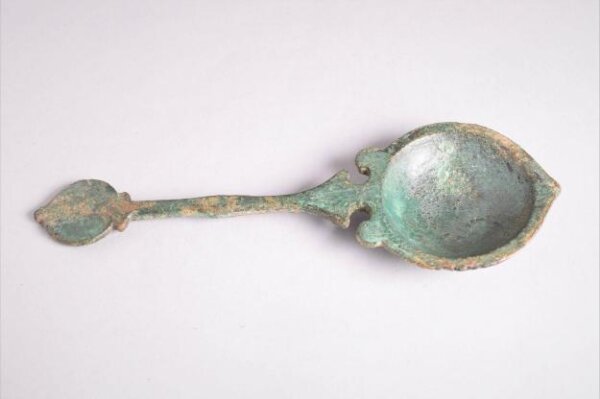 Spoon2nd century- 3rd Century · گندھار© Victoria and Albert Museum, London ↗
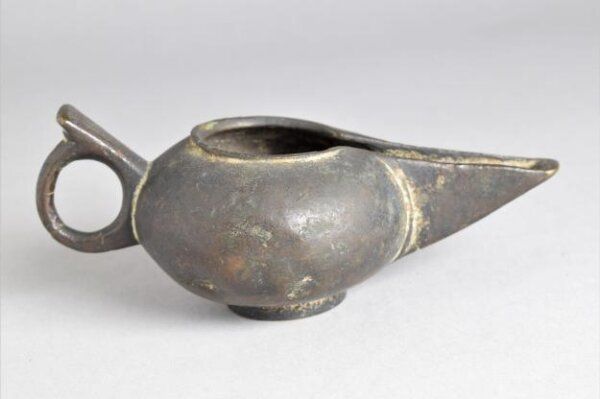 Domestic object2nd century- 3rd Century · گندھار© Victoria and Albert Museum, London ↗
 Domestic object2nd century -3rd Century · گندھار© Victoria and Albert Museum, London ↗
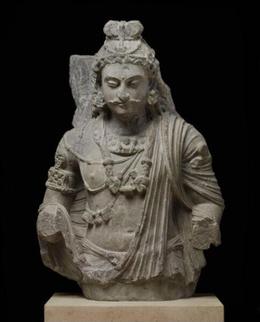 Bodhisattva Maitreya2nd century-4th century · گندھار© Victoria and Albert Museum, London ↗
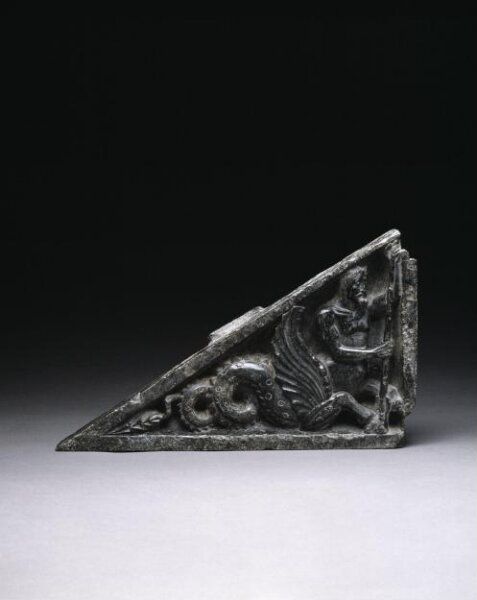 مورتیکلا2nd century-3rd century · گندھار© Victoria and Albert Museum, London ↗
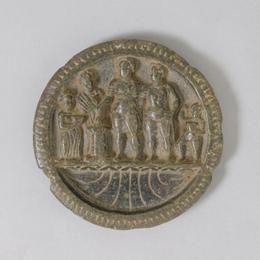 Cosmetic dish2nd Century · گندھار© Victoria and Albert Museum, London ↗
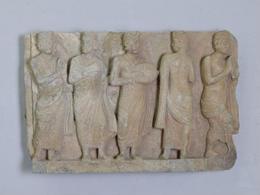 Relief panel, Gandhara2nd century- 4th century · گندھار© Victoria and Albert Museum, London ↗
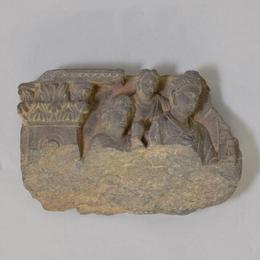 Relief2ویں صدی · گندھار© Victoria and Albert Museum, London ↗
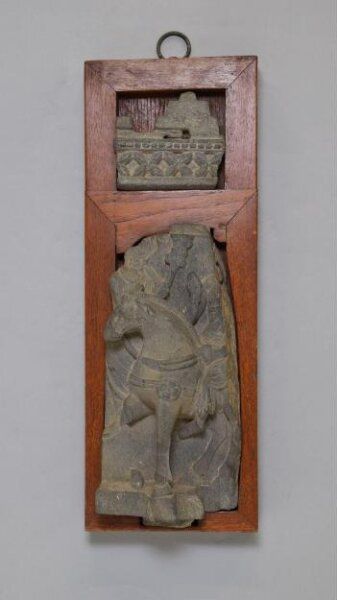 Relief2ویں صدی · گندھار© Victoria and Albert Museum, London ↗
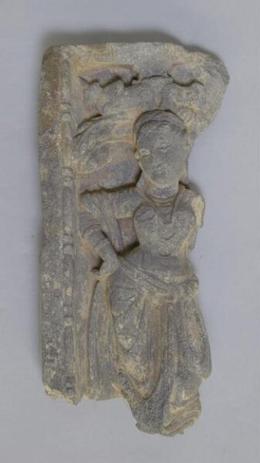 Relief2ویں صدی · گندھار© Victoria and Albert Museum, London ↗
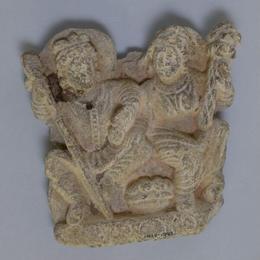 Reliefmid 2nd century · گندھار© Victoria and Albert Museum, London ↗
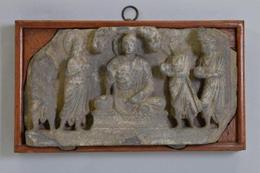 Relief panel, Gandhara2nd century- to 5th Century · گندھار© Victoria and Albert Museum, London ↗
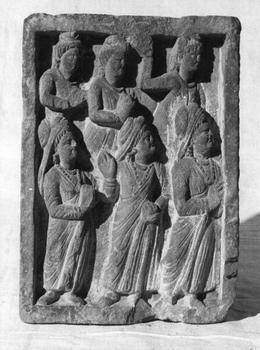 Relief panel, Gandhara2nd century to 4th Century · گندھار© Victoria and Albert Museum, London ↗
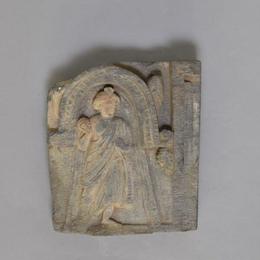 Relief panel, Gandhara2nd century-4th Century · گندھار© Victoria and Albert Museum, London ↗
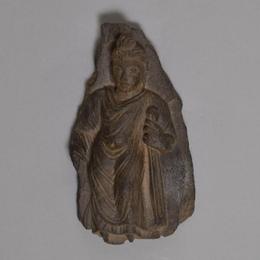 Buddha2nd century- 4th Century · گندھار© Victoria and Albert Museum, London ↗
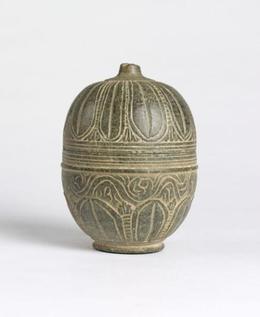 Reliquary2nd century-3rd century · گندھار© Victoria and Albert Museum, London ↗
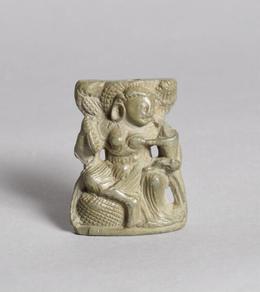 Figure, Gandhara2nd century-5th century · گندھار© Victoria and Albert Museum, London ↗
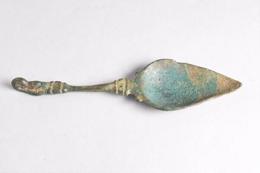 Spoon2nd century- 3rd Century · گندھار© Victoria and Albert Museum, London ↗
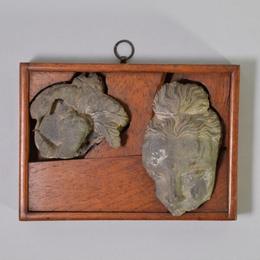 Relief2ویں صدی · گندھار© Victoria and Albert Museum, London ↗
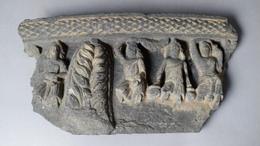 Relief Panel, Gandhara2ویں صدی · گندھار© Victoria and Albert Museum, London ↗
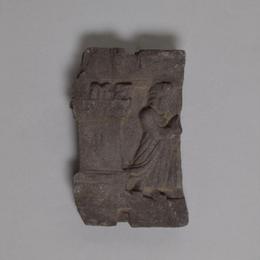 Relief2ویں صدی · گندھار© Victoria and Albert Museum, London ↗
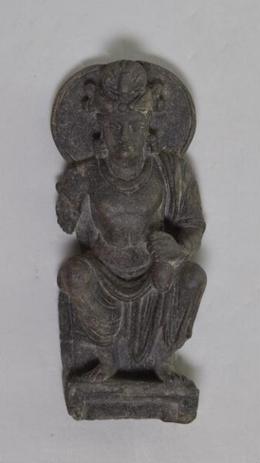 Bodhisattva Maitreya2nd century-3rd century · گندھار© Victoria and Albert Museum, London ↗
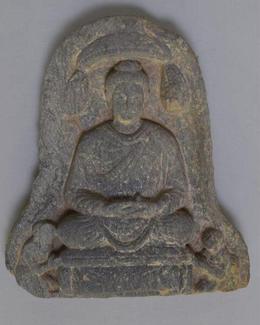 Figure, Gandhara2nd century-5th century · گندھار© Victoria and Albert Museum, London ↗
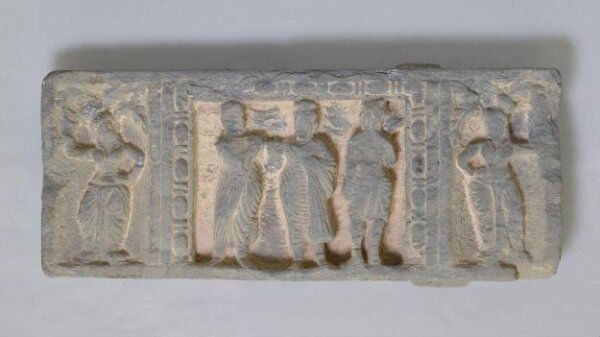 Relief2ویں صدی · گندھار© Victoria and Albert Museum, London ↗
 Relief panel, Gandhara2nd century to 5th century · گندھار© Victoria and Albert Museum, London ↗
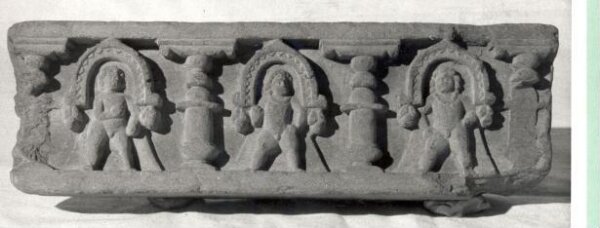 Relief2ویں صدی · گندھار© Victoria and Albert Museum, London ↗
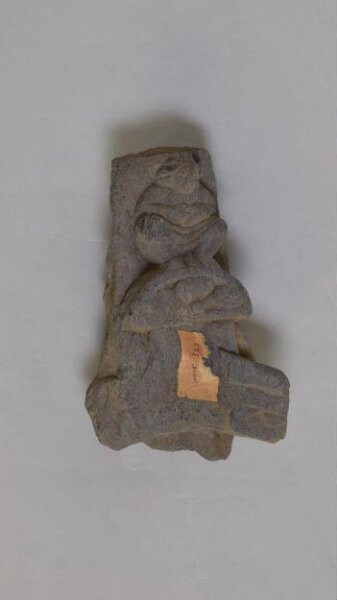 Relief2ویں صدی · گندھار© Victoria and Albert Museum, London ↗
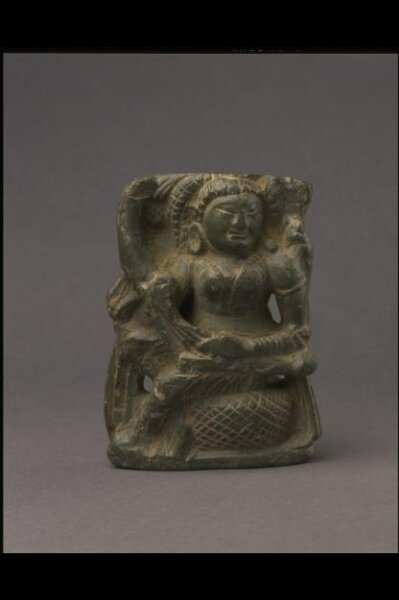 Relief2nd century to 5th century · گندھار© Victoria and Albert Museum, London ↗
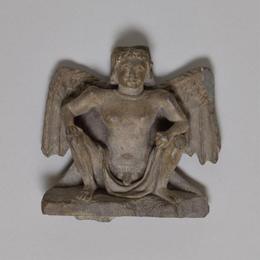 Frieze2nd century- 4th century · گندھار© Victoria and Albert Museum, London ↗
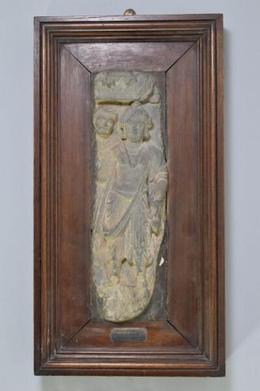 Relief panel, Gandhara2nd century to 4th century · گندھار© Victoria and Albert Museum, London ↗
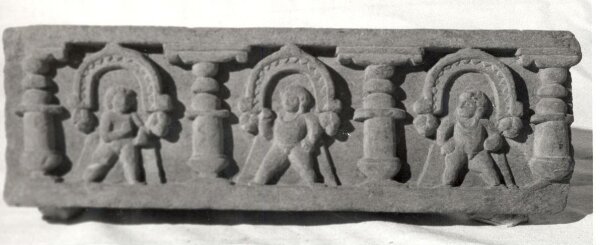 Relief2ویں صدی · گندھار© Victoria and Albert Museum, London ↗
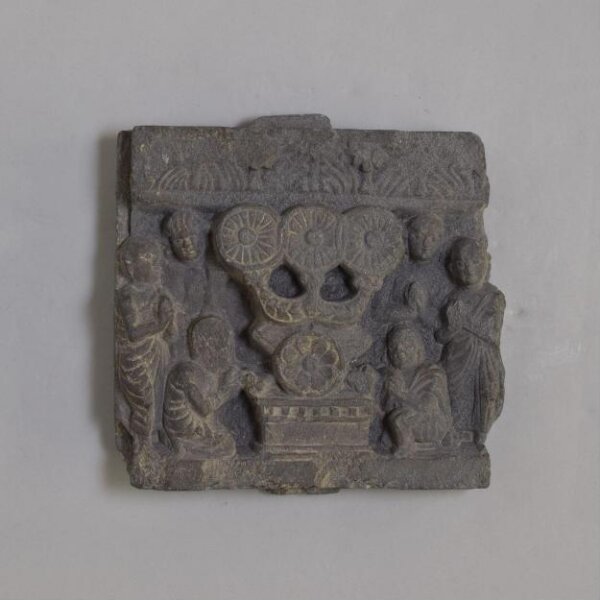 Relief panel, Gandhara2nd century to 4th Century · گندھار© Victoria and Albert Museum, London ↗
 Relief Fragment2nd century- 4th century · گندھار© Victoria and Albert Museum, London ↗
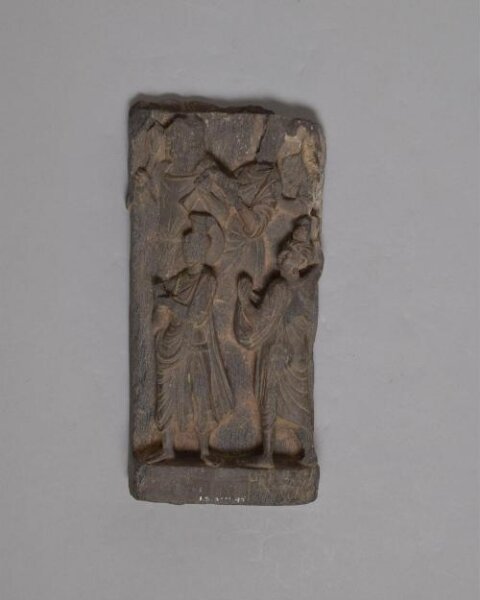 Relief2ویں صدی · گندھار© Victoria and Albert Museum, London ↗
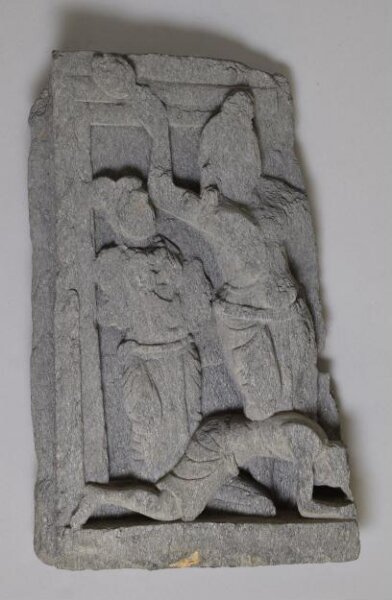 Relief2ویں صدی · گندھار© Victoria and Albert Museum, London ↗
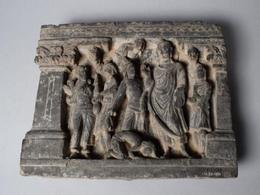 مورتیکلا2nd century-5th century · گندھار© Victoria and Albert Museum, London ↗
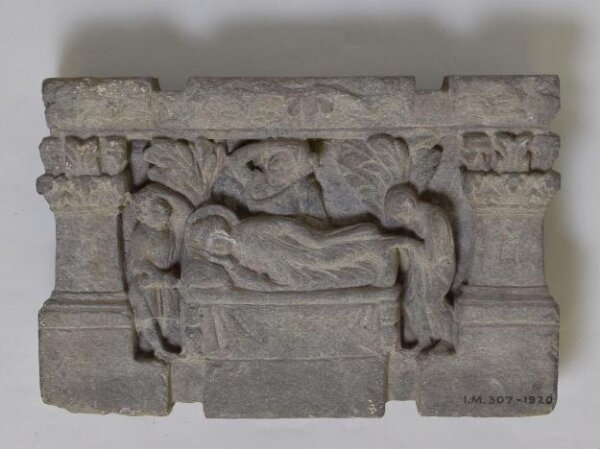 Relief2ویں صدی · گندھار© Victoria and Albert Museum, London ↗
 Buddha protected by Mucilinda2nd Century · گندھار© Victoria and Albert Museum, London ↗
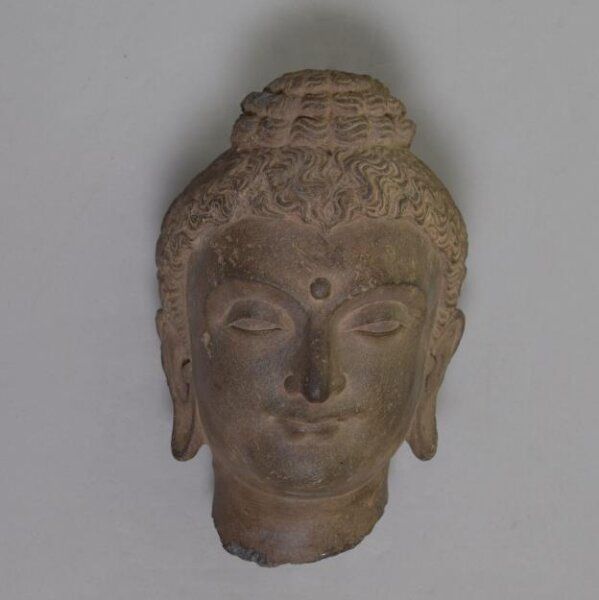 Head of the Buddha2ویں صدی · پشاور© Victoria and Albert Museum, London ↗
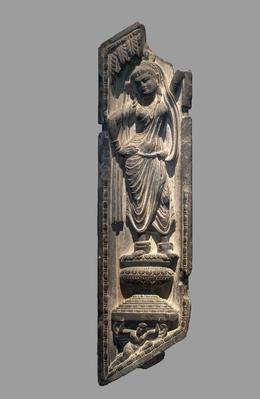 Yakshi2nd-3rd century · گندھارArt Institute of Chicago ↗
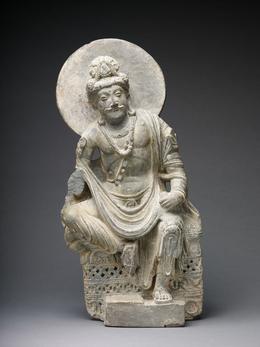 Pensive Bodhisattva2nd-3rd century · گندھارArt Institute of Chicago ↗
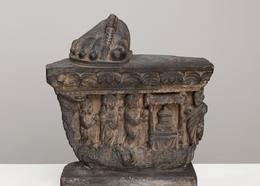 Veneration of the Buddha's Relics2nd-3rd century · گندھارArt Institute of Chicago ↗
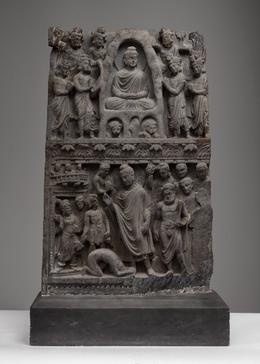 Buddha Shakyamuni Meditating in the Indrashala Cave [top] and Buddha Dipankara [bottom]2nd/3rd century · گندھارArt Institute of Chicago ↗
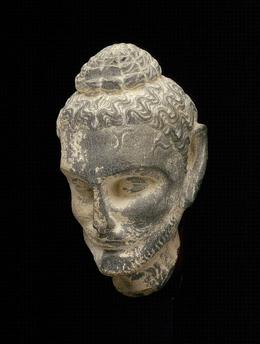 Head of Emaciated Siddhartha2nd-3rd century · گندھارArt Institute of Chicago ↗
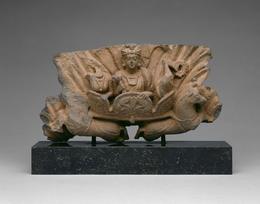 Corinthian Capital with Sun God Surya Riding a Chariot (Quadriga)2ویں صدی · گندھارArt Institute of Chicago ↗
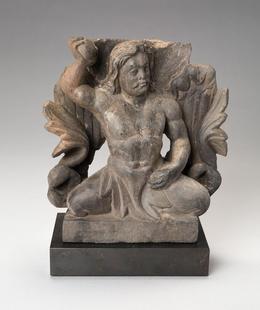 God Triton2nd/3rd century · گندھارArt Institute of Chicago ↗
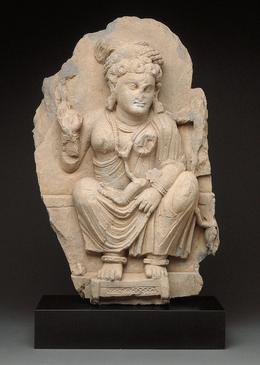 Goddess Hariti Seated Holding a Child2nd/3rd century · گندھارArt Institute of Chicago ↗
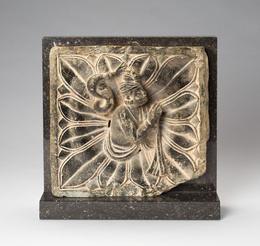 Serpent King (Nagaraja) Emerging from a Lotus2ویں صدی · گندھارArt Institute of Chicago ↗
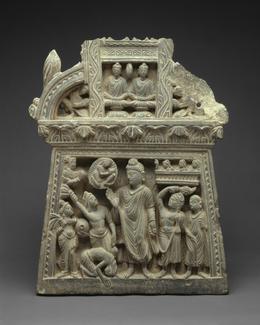 Gable with Sumedha Prostrating before the Buddha DīpaṃkaraKushan period, 2nd/3rd century · گندھارArt Institute of Chicago ↗
 Male Head2nd/3rd century · گندھارArt Institute of Chicago ↗
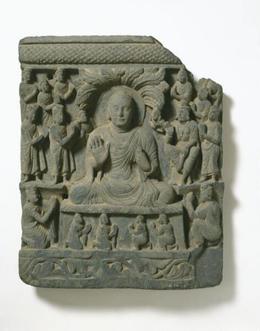 Buddha with worshippers2nd century-4th century · Swat valley© Victoria and Albert Museum, London ↗
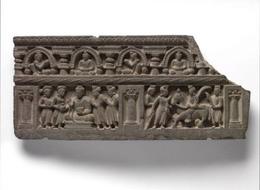 Relief panel, Gandhara2nd century-4th century · گندھار© Victoria and Albert Museum, London ↗
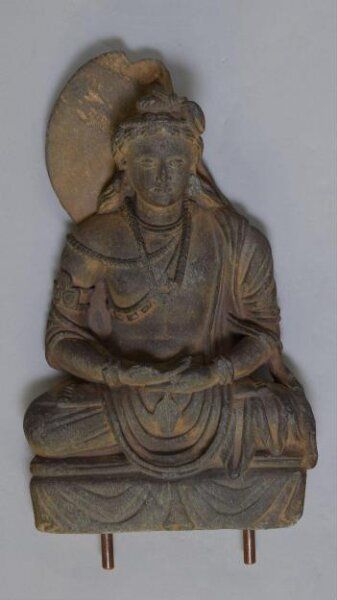 Bodhisattva Maitreya2nd century- 4th century · Swat valley© Victoria and Albert Museum, London ↗
 Seated Buddha, Gandhara region (Pakistan or Afghanistan), 2nd - 3rd century, gray schistWikimedia Commons · Hiart ↗
 Kushan Period, 2nd-3rd Centuries, Gandharan Region; Buddhism Sculpture GalleryWikimedia Commons · Gary Todd ↗
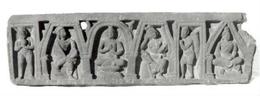 Frieze2nd century-5th century · Swat Valley© Victoria and Albert Museum, London ↗
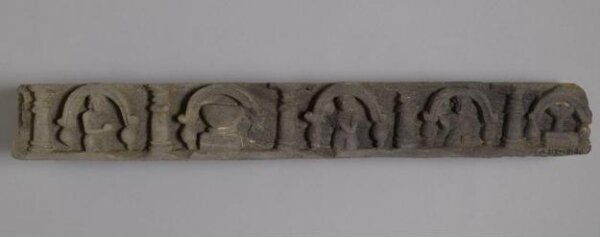 Relief2ویں صدی · Swat Valley© Victoria and Albert Museum, London ↗
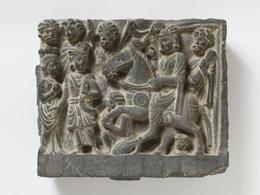 The Great Departure2nd century-4th century · گندھار© Victoria and Albert Museum, London ↗
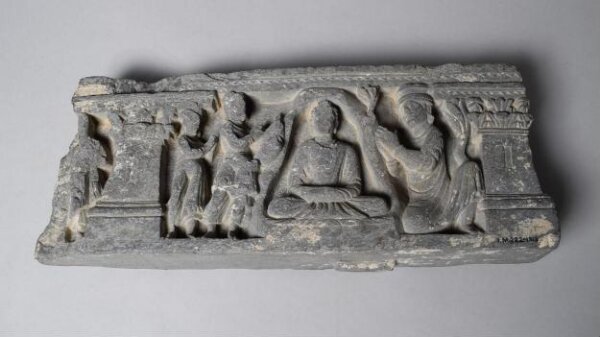 Relief2ویں صدی · Swat Valley© Victoria and Albert Museum, London ↗
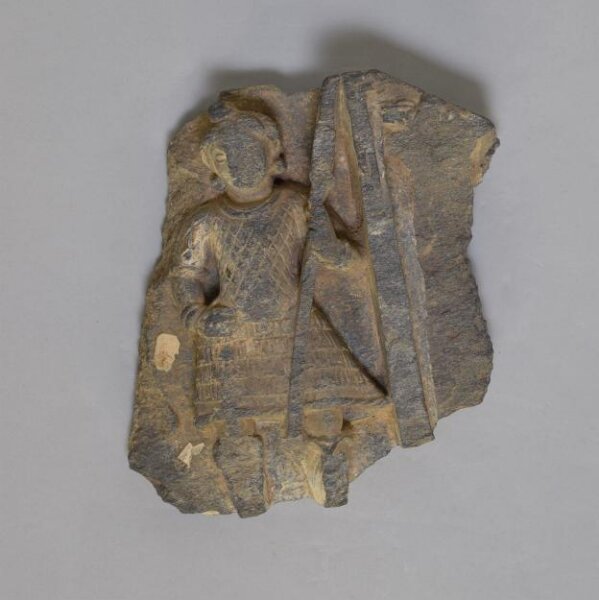 Reliefmid 2nd century · Swat Valley© Victoria and Albert Museum, London ↗
 Head of Buddha, North West Frontier Province, 2nd century CE, GandharaGovernment Museum, Chandigarh · photo SpeakingArch (Wikimedia Commons) · CC BY-SA ↗
 The Great Departure of the Buddha, Gandhara School of Art, circa 100-200 CE, SchistV&A, London · photo SpeakingArch (Wikimedia Commons) · CC BY-SA ↗
 Bodhisattva, 2nd-3rd century CE, Gandhara, National Museum, New DelhiNational Museum, New Delhi · photo SpeakingArch (Wikimedia Commons) · CC BY-SA ↗
 Gandhara Bodhisattva Sculpture, circa 2nd century, SikraiGovernment Museum, Chandigarh · photo SpeakingArch (Wikimedia Commons) · CC BY-SA ↗
 Schist bust of Bodhisattva Gandhara, 2nd century CE, Fitzwilliam Museum, CambridgeFitzwilliam Museum, Cambridge · photo SpeakingArch (Wikimedia Commons) · CC BY-SA ↗
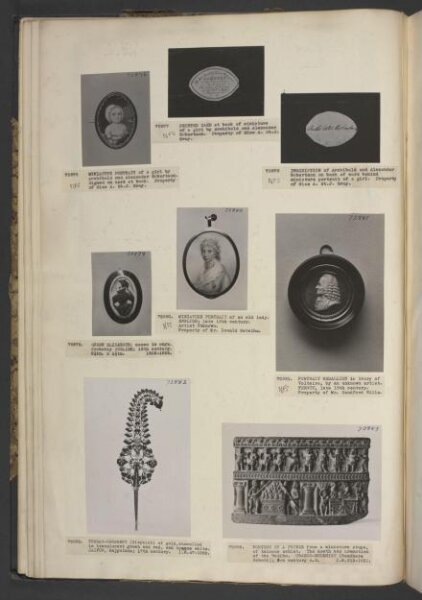 Relief2ویں صدی · پشاور© Victoria and Albert Museum, London ↗
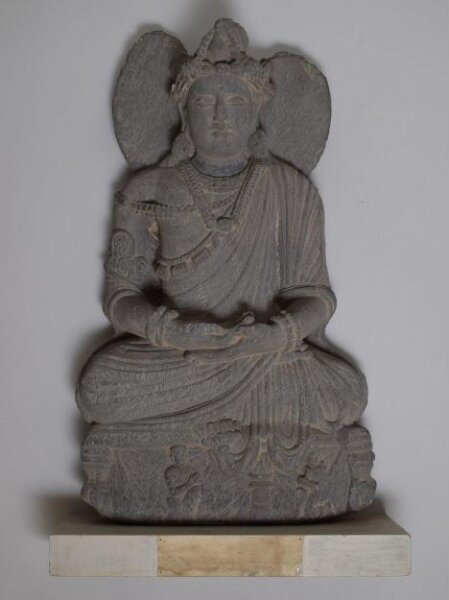 Relief2ویں صدی · پشاور© Victoria and Albert Museum, London ↗
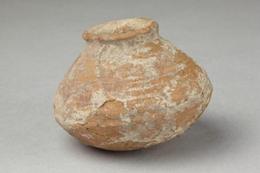 PotDate unknown, possibly 2nd century-5th century or earlier · Swat Valley© Victoria and Albert Museum, London ↗
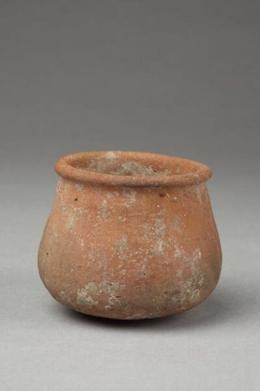 Pot2nd century-5th century · سوات© Victoria and Albert Museum, London ↗
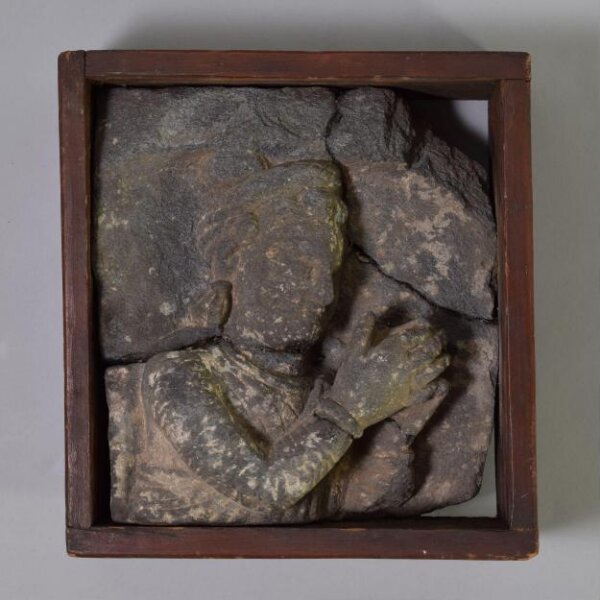 Relief2ویں صدی · Swat Valley© Victoria and Albert Museum, London ↗
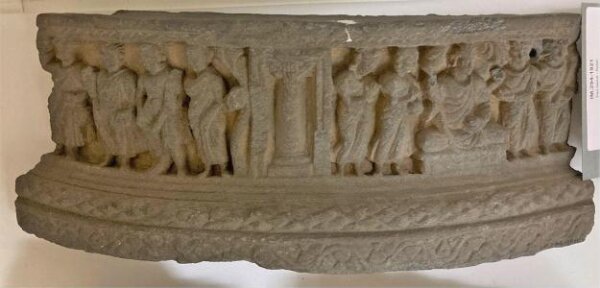 Relief2ویں صدی · Swat Valley© Victoria and Albert Museum, London ↗
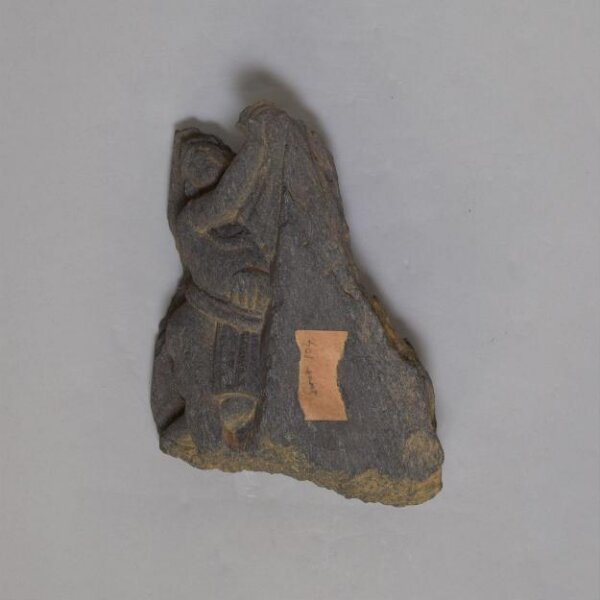 Relief2nd century-3rd century · Swat Valley© Victoria and Albert Museum, London ↗
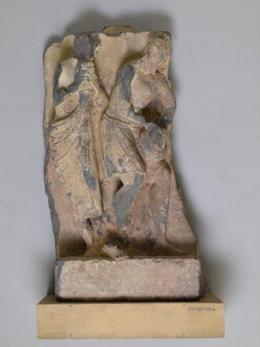 Relief panel, Swat Valley2ویں صدی · Swat Valley© Victoria and Albert Museum, London ↗
 Relief panel, Swat Valley2ویں صدی · Swat Valley© Victoria and Albert Museum, London ↗
 Fragment, Swat Valley2ویں صدی · Swat Valley© Victoria and Albert Museum, London ↗
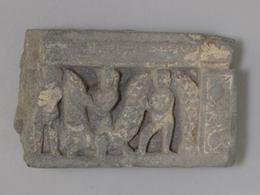 Relief panel, Swat Valley2ویں صدی · Swat Valley© Victoria and Albert Museum, London ↗
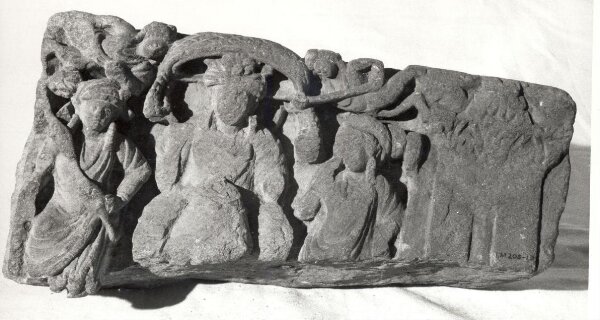 Relief2ویں صدی · Swat Valley© Victoria and Albert Museum, London ↗
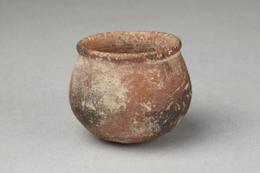 PotNo date, possibly 2nd century-5th century or earlier · Swat Valley© Victoria and Albert Museum, London ↗
 Figure of Darapanadharini, 2nd century CE, Dharmachakra Stupa, SangholGovernment Museum, Chandigarh · photo SpeakingArch (Wikimedia Commons) · CC BY-SA ↗
 Yakshi, Kushana period, Stone, c 2nd century A.D., Collection Sanghol site museumGovernment Museum, Chandigarh · photo Ajay Tallam (Wikimedia Commons) · CC BY-SA ↗
 Lady playing with a child, Kushana period, c 2nd century A.D., StoneGovernment Museum, Chandigarh · photo Ajay Tallam (Wikimedia Commons) · CC BY-SA ↗
 Female Figure, Gandhara Art, circa 100-200 CE, Schist relief fragmentAshmolean Museum, Oxford · photo SpeakingArch (Wikimedia Commons) · CC BY-SA ↗
 Fragment of a Ritual tray showing a Nereid (sea nymph) circa 100-200 CEBritish Museum, London · photo SpeakingArch (Wikimedia Commons) · CC BY-SA ↗
 Stone Ritual dish depicting Aphrodite chastising Eros, circa 100-200 CEBritish Museum, London · photo SpeakingArch (Wikimedia Commons) · CC BY-SA ↗
 Stone Ritual dish depicting Poseidon riding Hippocamp, circa 100-200 CEBritish Museum, London · photo SpeakingArch (Wikimedia Commons) · CC BY-SA ↗
 Schist figure of seated Boddhisatva, 2nd century CE, Fitzwilliam Museum, CambridgeFitzwilliam Museum, Cambridge · photo SpeakingArch (Wikimedia Commons) · CC BY-SA ↗
 Schist frieze, Gandhara, 2nd century CE, Fitzwilliam Museum, CambridgeFitzwilliam Museum, Cambridge · photo SpeakingArch (Wikimedia Commons) · CC BY-SA ↗
 Pakistan, Gandhara region, 2nd century Sculpture Gray schist William Randolph Hearst…LACMA, Los Angeles · photo Wikimedia Commons (Wikimedia Commons) ↗
 Pakistan, Gandhara region, 2nd-3rd century Sculpture Gray schist The Phil Berg…LACMA, Los Angeles · photo Wikimedia Commons (Wikimedia Commons) ↗
 Pakistan, Gandhara region, 2nd century Sculpture Copper alloy 3 1/2 x 2 x 5/8 inLACMA, Los Angeles · photo Wikimedia Commons (Wikimedia Commons) ↗
 Pakistan, Gandhara region, 2nd century Sculpture Gray schist Indian Art Special Purpose…LACMA, Los Angeles · photo Wikimedia Commons (Wikimedia Commons) ↗
 Pakistan, Gandhara region, 2nd-3rd century Sculpture Gray schist 12 3/8 x 6 3/8 x 2 1/4 inLACMA, Los Angeles · photo Wikimedia Commons (Wikimedia Commons) ↗
 Stupa With Pillars, Gandhara 2nd CenturyAsian Art Museum, San Francisco · photo PHGCOM (Wikimedia Commons) · CC BY-SA ↗
 The temptation of the Buddha by Mara's daughters, Pakistan, Gandhara area, 2nd–4th centuryMuseum Rietberg, Zurich · photo Photograph: Andreas Praefcke (Wikimedia Commons) ↗
 Three-Headed Shiva, Gandhara, 2nd CenturyMuseum für Asiatische Kunst, Berlin · photo PHGCOM (Wikimedia Commons) · CC BY-SA ↗
 Relic Casket with carved Lotus Motif, circa 2nd century CE, Gandhara School of ArtGovernment Museum, Chandigarh · photo SpeakingArch (Wikimedia Commons) · CC BY-SA ↗
 Stela showing scenes of the Buddha and the Boddhisatva, circa 2nd century CEGovernment Museum, Chandigarh · photo SpeakingArch (Wikimedia Commons) · CC BY-SA ↗
 Stucco Head from Gandhara, 2nd-3rd century CE, National Museum, DelhiNational Museum, New Delhi · photo SpeakingArch (Wikimedia Commons) · CC BY-SA ↗
 Stucco head, 2nd-3rd Century CE, Gandhara, National Museum, New DelhiNational Museum, New Delhi · photo SpeakingArch (Wikimedia Commons) · CC BY-SA ↗
 Stucco head, 2nd-3rd century CE, Gandhara, National Museum New Delhi.DelhiNational Museum, New Delhi · photo SpeakingArch (Wikimedia Commons) · CC BY-SA ↗
 Stucco head of a bearded man, 2nd-3rd century CE, Gandhara, National Museum, New DelhiNational Museum, New Delhi · photo SpeakingArch (Wikimedia Commons) · CC BY-SA ↗
 Stucco head of a laughing boy, 2nd-3rd century CE, Gandhara, National Museum New DelhiNational Museum, New Delhi · photo SpeakingArch (Wikimedia Commons) · CC BY-SA ↗
 Stucco head of a woman, 2nd-3rd century CE, Gandhara, National Museum, New DelhiNational Museum, New Delhi · photo SpeakingArch (Wikimedia Commons) · CC BY-SA ↗
 Buddha with Kalika Naga, 2nd century CE, unknown provenance, National Museum DelhiNational Museum, New Delhi · photo SpeakingArch (Wikimedia Commons) · CC BY-SA ↗
 Buddha's approach to the Bodhi tree, 2nd Century CE, JamalgarhiIndian Museum, Kolkata · photo SpeakingArch (Wikimedia Commons) · CC BY-SA ↗
 Dharmachakrapravartana, 2nd century CE, Loriyan Tangai, Kushan, Indian Museum KolkataIndian Museum, Kolkata · photo SpeakingArch (Wikimedia Commons) · CC BY-SA ↗
 Panel showing Wrestling scene, Jamalgarhi, circa 2nd century CE, Located Indian MuseumIndian Museum, Kolkata · photo SpeakingArch (Wikimedia Commons) · CC BY-SA ↗
 Sculpture of Hariti and Panchika, Jamalgarhi, 2nd century CE, Gandhara School of ArtIndian Museum, Kolkata · photo SpeakingArch (Wikimedia Commons) · CC BY-SA ↗
 Sculpture of Maitreya, Loriyan Tangai, circa 2nd century CE, Located Indian MuseumIndian Museum, Kolkata · photo SpeakingArch (Wikimedia Commons) · CC BY-SA ↗
 Sculpture of Maitreya in Dhyana mudra, Loriyan Tangai, circa 2nd century CEIndian Museum, Kolkata · photo SpeakingArch (Wikimedia Commons) · CC BY-SA ↗
 Detail of Seated Buddha - Gandhara, Pakistan - 2nd-3rd CentWikimedia Commons · Adam Jones from Kelowna, BC, Canada · CC BY-SA ↗
 Darpana Dharini (Lady holding a mirror in one hand) Kushana Period 2nd Century AD Acc…Government Museum, Chandigarh · photo Deepank Ranka (Wikimedia Commons) · CC BY ↗
 Yakshi, Kushana Period 2nd Century AD Acc No 14 Sanghol, Punjab Govt Museum ChandigarhGovernment Museum, Chandigarh · photo Deepank Ranka (Wikimedia Commons) · CC BY ↗
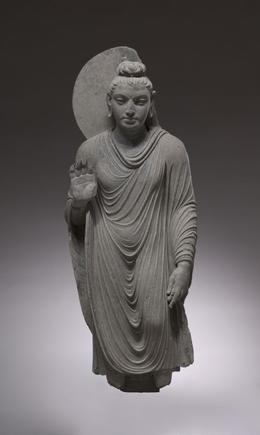 Standing Buddha150–200 ای. · Pakistan, Gandhara, Kushan periodCleveland Museum of Art ↗
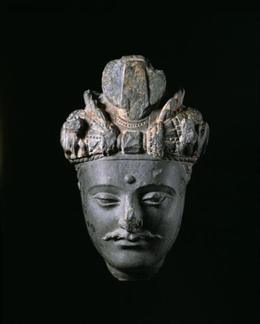 Head of a Bodhisattvalate 2nd century-3rd century · پشاور© Victoria and Albert Museum, London ↗
 Head of Buddha, late 2nd century CE, Gandhara, Government Museum and Art GalleryGovernment Museum, Chandigarh · photo SpeakingArch (Wikimedia Commons) · CC BY-SA ↗
 Head of Boddhisatva Maitreya, Late 2nd century CE, Gandhara, Lal Bhai Museum, AhmedabadWikimedia Commons · SpeakingArch · CC BY-SA ↗
 Offerings found in Bodh Gaya under the "Enlightment Throne of the Buddha"British Museum, London · photo PHGCOM (Wikimedia Commons) · CC BY-SA ↗
 Reliquary, ancient region of GandharaThe Met, New York · photo Wikimedia Commons (Wikimedia Commons) ↗
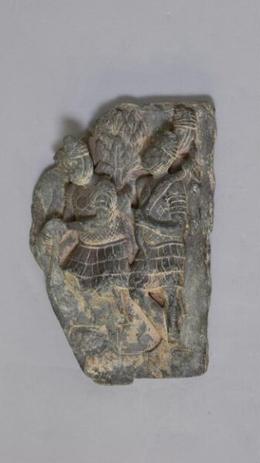 Reliefprobably third quarter of 2nd cantury · گندھار© Victoria and Albert Museum, London ↗
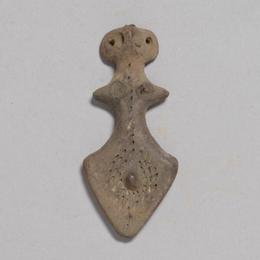 Figures12ویں صدی · گندھار© Victoria and Albert Museum, London ↗
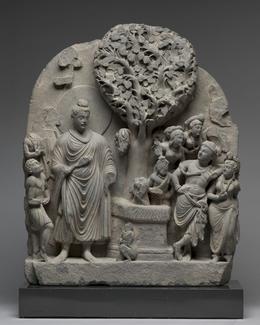 Siddhartha at the Bodhi Tree100s–200s CE · Pakistan, GandharaCleveland Museum of Art ↗
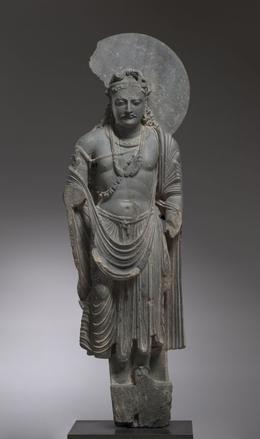 Bodhisattvalate 100s CE · Pakistan, Gandhara, Kushan periodCleveland Museum of Art ↗
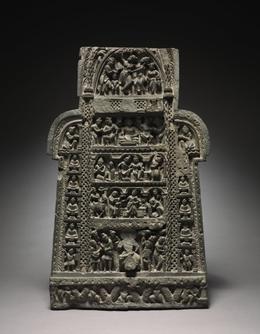 Scenes from the Life of Buddha100s CE · Pakistan, Gandhara, Kushan periodCleveland Museum of Art ↗
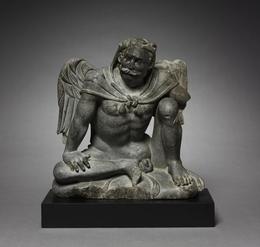 Winged Atlas-Hercules200s CE · Pakistan, Gandhara, Gandhara periodCleveland Museum of Art ↗
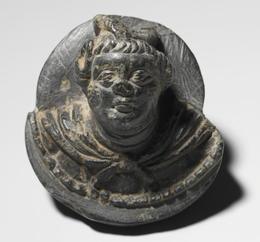 Plaque with a Male Head100s CE · Pakistan, Gandhara, Kushan periodCleveland Museum of Art ↗
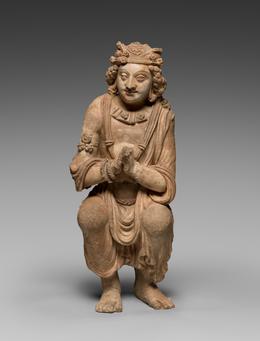 Adoring Attendant from a Buddhist Shrinec. 300s–400s CE · Afghanistan, Gandhara, KushanCleveland Museum of Art ↗
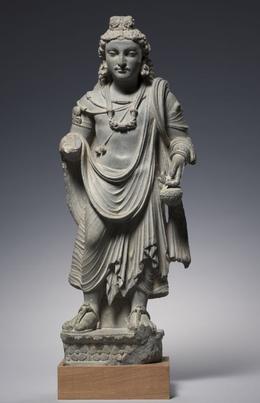 Maitreyac. 200s CE · Pakistan, Gandhara, Kushan periodCleveland Museum of Art ↗
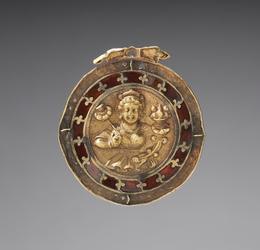 Pendant with Shric. 100s CE · Pakistan, Gandhara, Sirkap, Kushan periodCleveland Museum of Art ↗
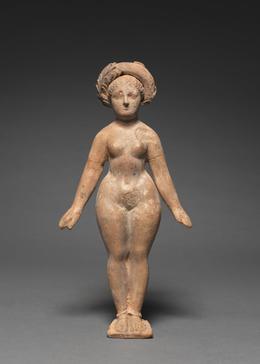 Fertility Goddess100s CE · Pakistan, Gandhara, reportedly Charsada, early Kushan periodCleveland Museum of Art ↗
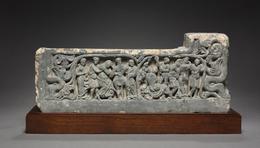 Bacchanalian Relief200s CE · Pakistan, Gandhara, Kushan periodCleveland Museum of Art ↗
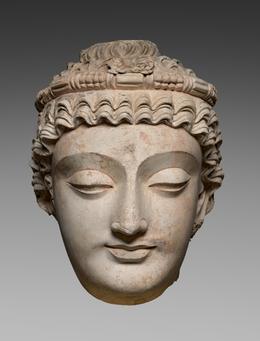 Head of Bodhisattva Avalokiteshvara300s–400s CE · Afghanistan or Pakistan, Gandhara, Kushan periodCleveland Museum of Art ↗
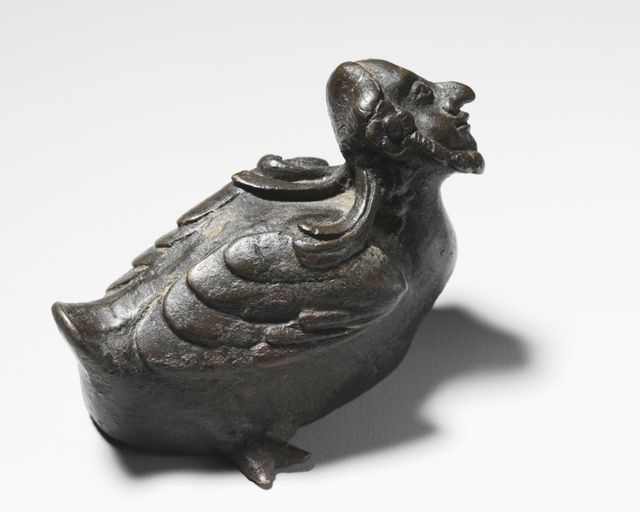 Bird with Human Head, possibly Hermesc. 200s–300s CE · Pakistan, Gandhara, Kushan periodCleveland Museum of Art ↗
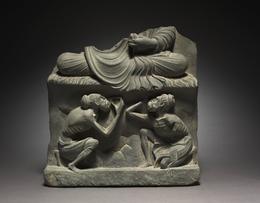 Base for a Seated Buddha with Figures of Asceticsc. late 100s CE · Pakistan, Gandhara, Kushan periodCleveland Museum of Art ↗
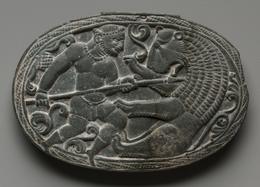 Lid with Combat between a Man and a Lionc. 200s–300s CE · Pakistan, Gandhara, late Kushan periodCleveland Museum of Art ↗
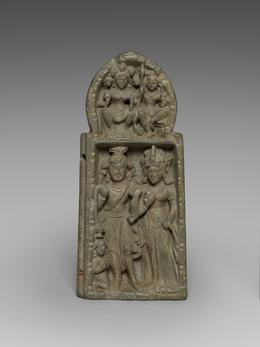 Section from a Portable Shrine100s CE · Pakistan, Gandhara, Kushan periodCleveland Museum of Art ↗
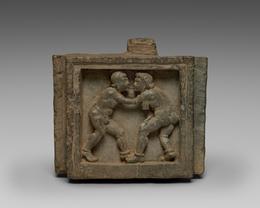 Architectural Bracket with Wrestlers100s–200s CE · Pakistan, GandharaCleveland Museum of Art ↗
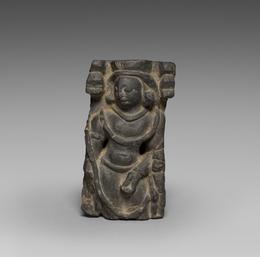 Male Figure, Possibly Indra300s–400s CE · Pakistan, Gandhara, possibly SwatCleveland Museum of Art ↗
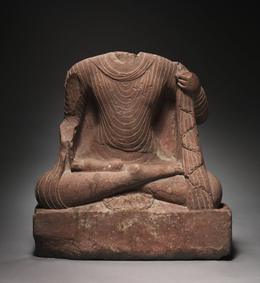 Seated Buddha200s CE · Northern India, Mathura, Kushan periodCleveland Museum of Art ↗
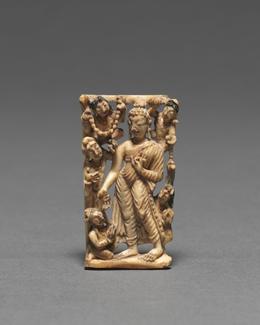 Walking Buddha700s · India, Kashmir, 8th centuryCleveland Museum of Art ↗
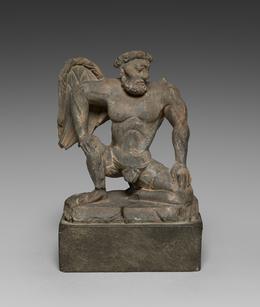 Winged Atlasc. 100s–200s CE · Pakistan, Gandhara, Kushan periodCleveland Museum of Art ↗
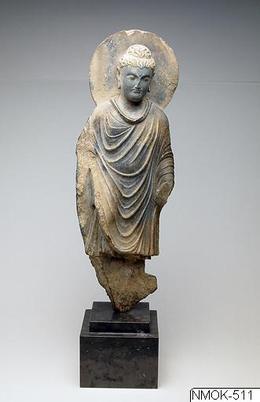 Skulptur, SculpturePakistan Pakistan Пакистан Paquistão Пакистан Pakistanas Pakistan Pakistāna PakiMuseum of Far Eastern Antiquities (via Europeana) ↗
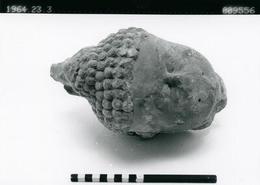 Skulptur, figur, figure, sculptureIndien India Индия Intia Índia Индия Indija Indija Indija Inde India India IndijMuseum of Ethnography (via Europeana) ↗
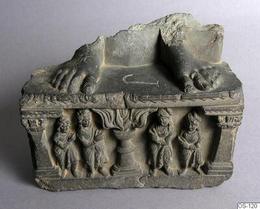 Skulptur, SculpturePakistan Pakistan Пакистан Paquistão Пакистан Pakistanas Pakistan Pakistāna PakiMuseum of Far Eastern Antiquities (via Europeana) ↗
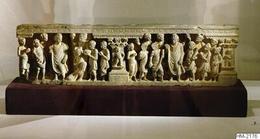 Fris, Relief, RelieffrisAfghanistan Afganistan Афганистан Afeganistão Афганистан Afganistanas AfganistanMuseum of Far Eastern Antiquities (via Europeana) ↗
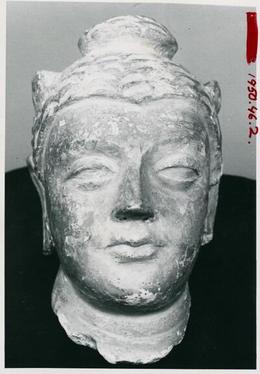 Figur, skulptur, sculpturePakistan Pakistan Пакистан Paquistão Пакистан Pakistanas Pakistan Pakistāna PakiMuseum of Ethnography (via Europeana) ↗
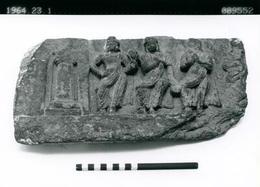 Relief, fragment, skulptur, sculptureIndien India Индия Intia Índia Индия Indija Indija Indija Inde India India IndijMuseum of Ethnography (via Europeana) ↗
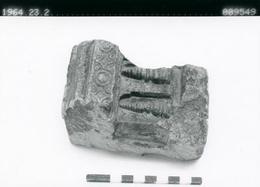 Relief, fragment, skulptur, sculptureIndien India Индия Intia Índia Индия Indija Indija Indija Inde India India IndijMuseum of Ethnography (via Europeana) ↗
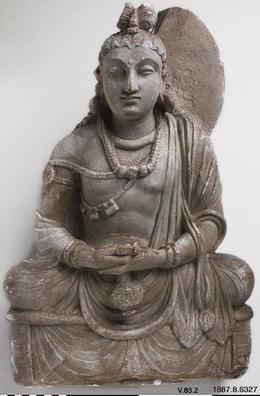 Sculpture, plaster casting, figurePakistan Pakistan Пакистан Paquistão Пакистан Pakistanas Pakistan Pakistāna PakiMuseum of Ethnography (via Europeana) ↗
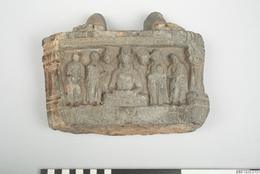 Fragment, SkulpturIndien India Индия Intia Índia Индия Indija Indija Indija Inde India India IndijMuseum of Far Eastern Antiquities (via Europeana) ↗
 The site of Hadda, now destroyed, had numerous Buddhist stupasWikimedia Commons ↗
 Gandhara Earrings, Ashmolean Museum, OxfordAshmolean Museum, Oxford · photo SpeakingArch (Wikimedia Commons) · CC BY-SA ↗
 Seated Buddha from GandharaBritish Museum, London · photo Photograph by Mike Peel (www.mikepeel.net). (Wikimedia Commons) · CC BY-SA ↗
 Bodhisattva, Gandhara, Stucco, Museum Humanum, 258964Wikimedia Commons · Zde · CC BY-SA ↗
 Gandhara Buddha, Miho MuseumWikimedia Commons · Herry Lawford · CC BY ↗
 Small heads, Gandhara, Museum Humanum, 258969Wikimedia Commons · Zde · CC BY-SA ↗
 Temptation of Buddha by the Evil Forces of Mara700s · Northern India, Kashmir, 8th centuryCleveland Museum of Art ↗
 Bust of a bodhisattva in the Dallas Museum of Art, Dallas, Texas, USA.Wikimedia Commons · Daderot ↗
 Delhi Museum Gandharan BuddhaNational Museum, New Delhi · photo Hideyuki KAMON (Wikimedia Commons) · CC BY-SA ↗
 The Buddha (you can see the remains of his hand on the right side of this fragment) is…Walters Art Museum, Baltimore · photo Gandharan (Wikimedia Commons) ↗
 The Buddha's hand gesture, or mudra, is called dharma-chakraWalters Art Museum, Baltimore · photo Gandharan (Wikimedia Commons) ↗
 Gandharan AthenaLahore Museum · photo Uploadmo (Wikimedia Commons) · CC BY-SA ↗
 Gandharan BodhisattvaNational Museum, New Delhi · photo John Hill (Wikimedia Commons) · CC BY-SA ↗
 Gandharan relief sculpture of Kushan soldiers Royal Ontario Museum This reliefRoyal Ontario Museum, Toronto · photo Daderot (Wikimedia Commons) ↗
 Gandhara art at Tokyo MuseumWikimedia Commons · Davide Mauro · CC BY-SA ↗
 The lower portion of an Indo-Corinthian pilaster capitalWalters Art Museum, Baltimore · photo Gandharan (Wikimedia Commons) ↗
 The elaborate jewelry and distinctive hairstyle identify this figure as a bodhisattvaWalters Art Museum, Baltimore · photo Gandharan (Wikimedia Commons) ↗
 Seated Buddha from KushanWikimedia Commons · G41rn8 · CC BY-SA ↗
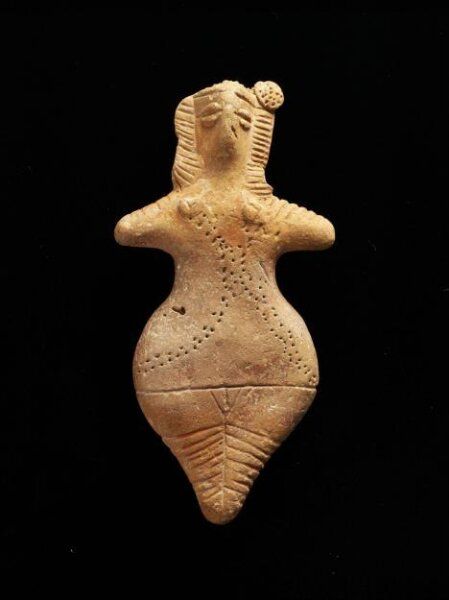 Figure, Taxilaٹیکسلا© Victoria and Albert Museum, London ↗
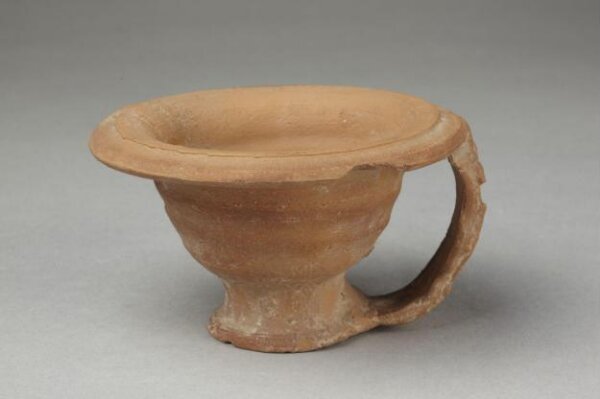 Bottleٹیکسلا© Victoria and Albert Museum, London ↗
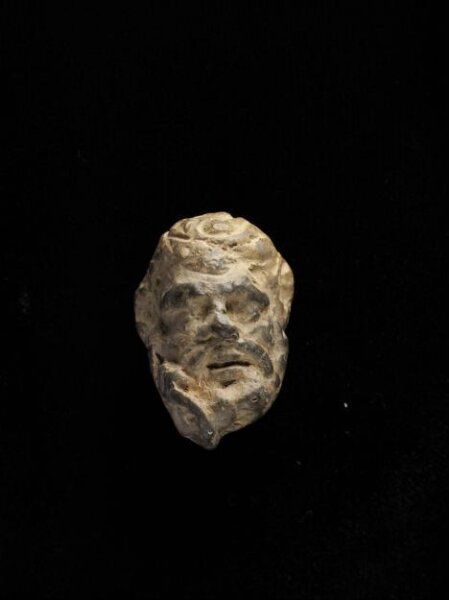 مورتیکلاٹیکسلا© Victoria and Albert Museum, London ↗
 Aramaic inscription at Taxila MuseumTaxila Museum · photo Onceinawhile (Wikimedia Commons) · CC BY-SA ↗
 Aramaic inscription from Taxila JRASTaxila Museum · photo L.D. Barnett in 1915 (Wikimedia Commons) ↗
 Gold earring from Taxila, c.100-300 CE, V&A Museum, LondonV&A, London · photo SpeakingArch (Wikimedia Commons) · CC BY-SA ↗
 Taxila Copper Plate in the British MuseumBritish Museum, London · photo Jononmac46 (Wikimedia Commons) · CC BY-SA ↗
 Taxila Museum EntranceTaxila Museum · photo Khalid Mahmood (Wikimedia Commons) · CC BY-SA ↗
 Statue of MaitreyaTaxila Museum · photo Wikimedia Commons (Wikimedia Commons) ↗
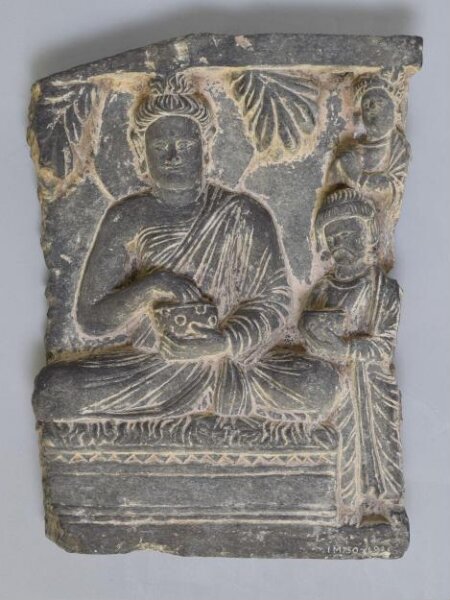
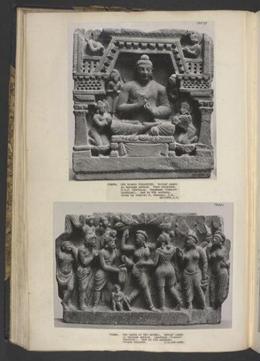 Buddha seated in a temple with worshippersca. 300 · گندھار© Victoria and Albert Museum, London ↗
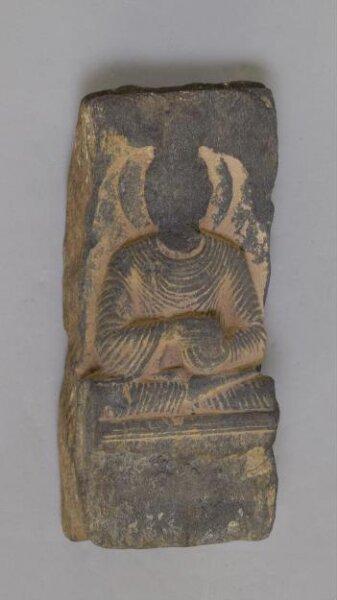 Reliefca. 300 · Swat Valley© Victoria and Albert Museum, London ↗
 Relief panel, Swat Valleyprobably around 200 · Swat Valley© Victoria and Albert Museum, London ↗
 Buddha 94 X 68.5 cms cGovernment Museum, Chandigarh · photo Government Museum and Art Gallery, Chandigarh (Wikimedia Commons) · CC BY-SA ↗
 Gandhara BuddhaWikimedia Commons · Zde · CC BY-SA ↗
 Buddha Poornima Special Scenes from the Life of Buddha, Gandhara School of ArtGovernment Museum, Chandigarh · photo SpeakingArch (Wikimedia Commons) · CC BY-SA ↗
 Panel showing the First Sermon of BuddhaBritish Museum, London · photo Zunkir (Wikimedia Commons) · CC BY-SA ↗
 Gandaran BuddhaWikimedia Commons · Moheen Reeyad · CC BY-SA ↗
 Gandhara Buddha, Southeast Asia Room, Miho MuseumWikimedia Commons · jumbokedama · CC BY-SA ↗
 Gandhara Buddha images are among the earliest such depictions known to existWikimedia Commons · Paul Trafford · CC BY ↗
 Gandhara friezeWikimedia Commons · Zde · CC BY-SA ↗
 Labit - Buddha with four characters - Karkhi (Gandhara) - Greco-Buddhist artWikimedia Commons · Didier Descouens ↗
 Labit - Sitting Buddha meditating - Swat Valley, Gandhara, Pakistan D. 70.1.2Wikimedia Commons · Didier Descouens ↗
 Scenes from the life of Buddha, From top to bottom: 1Government Museum, Chandigarh · photo SpeakingArch (Wikimedia Commons) · CC BY-SA ↗
 Arte del gandhara, buddha sakyamuni, II-II secoloLACMA, Los Angeles · photo sailko (Wikimedia Commons) · CC BY-SA ↗
 Bronze Buddha image, from Gandhara, Sahr-i Bahlol, Peshawar Valley PakistanBritish Museum, London · photo Zunkir (Wikimedia Commons) · CC BY-SA ↗
 Buddha devotional image, Gandhara, Sahri Bahlol, Pakistan, cBritish Museum, London · photo Daderot (Wikimedia Commons) ↗
 Copper alloy Buddha sculpture from Mankiyala Stupa, PakistanBritish Museum, London · photo SpeakingArch (Wikimedia Commons) · CC BY-SA ↗
 Art of Gandhara in the Cleveland Museum of ArtWikimedia Commons · Sailko · CC BY ↗
 Gandhara Buddha Berlin MuseumWikimedia Commons · Smith, Vincent Arthur, 1848-1920 ↗
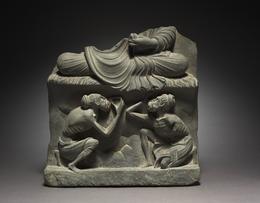 Pakistan, Gandhara, Kushan Period - Base for a Seated Buddha with Figures of AsceticsWikimedia Commons ↗
 Preaching Buddha, Jamalgarhi, Khyber Pakhtunkhwa, Pakistan, cBritish Museum, London · photo Daderot (Wikimedia Commons) ↗
 Scenes from the Life of the BuddhaWikimedia Commons · Hispalois · CC BY-SA ↗
 Detail of a relief with scenes from the Life of the Buddha: Nade female figure seen…Wikimedia Commons · Hispalois · CC BY-SA ↗
 Art of Gandhara in the San Diego Museum of Art, San Diego, California, USAWikimedia Commons · Daderot ↗
 Tod des Buddha - Das MahāparinirvāņaWikimedia Commons · KarlHeinrich ↗
 Arte del gandhara, bodhisattva, II-III secoloLACMA, Los Angeles · photo sailko (Wikimedia Commons) · CC BY-SA ↗
 Arte del gandhara, bodhisattva pensoso, III secLACMA, Los Angeles · photo sailko (Wikimedia Commons) · CC BY-SA ↗
 Arte del gandhara, testa di bodhisattva, II-II secoloLACMA, Los Angeles · photo sailko (Wikimedia Commons) · CC BY-SA ↗
 Bodhisattva - Cleveland Museum of ArtWikimedia Commons · Tim Evanson from Cleveland Heights, Ohio, USA · CC BY-SA ↗
 A bodhisattva, made in the late 100s AD in Gandhara province, PakistanWikimedia Commons · Tim Evanson from Cleveland Heights, Ohio, USA · CC BY-SA ↗
 Bodhisattva Maitreya 147 X 61 cms cGovernment Museum, Chandigarh · photo Government Museum and Art Gallery, Chandigarh (Wikimedia Commons) · CC BY-SA ↗
 Bodhisatva Maitreya, 100-300 Ce, Gandhara, Dallas Museum, TexasWikimedia Commons · SpeakingArch · CC BY-SA ↗
 Another imageThe statue corresponding to the piedestalBritish Museum, London · photo Alfred Charles Foucher (Wikimedia Commons) ↗
 Head of a bodhisattva (Gandhara)Wikimedia Commons · Jnzl's Photos · CC BY ↗
 Kimbell Bodhisattva, GandharaWikimedia Commons · TravelBear71 · CC BY-SA ↗
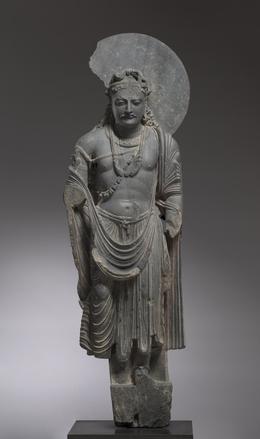 Bodhisattvas, who are one stage away from complete enlightenmentWikimedia Commons ↗
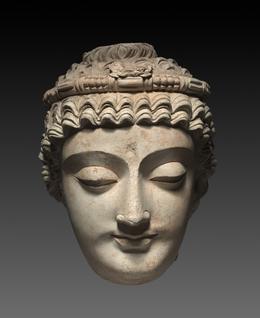 By this period, individual bodhisattvas were beginning to be revered as ideal figures…Wikimedia Commons ↗
 The miraculous birth of the BuddhaWikimedia Commons · Till Niermann · CC BY ↗
 Bodhisattva MaitreyaNational Museum, New Delhi · photo Hideyuki KAMON (Wikimedia Commons) · CC BY-SA ↗
 Sculpture, ancient region of Gandhara) or India (Jammu & KashmirThe Met, New York · photo Wikimedia Commons (Wikimedia Commons) ↗
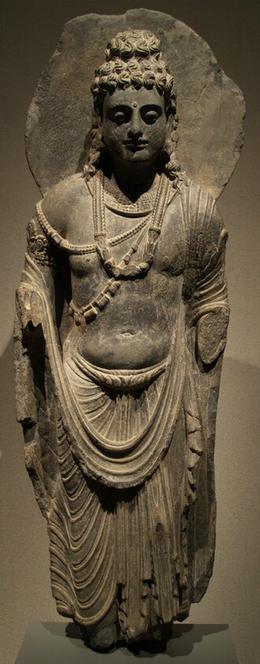 Escultura Gandhara Berlín. 02Wikimedia Commons · Miguel Hermoso Cuesta · CC BY-SA ↗
 Sculptures of India in the Salar Jung MuseumSalar Jung Museum, Hyderabad · photo Sailko (Wikimedia Commons) · CC BY ↗
 Gandhara, testa di bodhisattva, periodo kushan, 150-300V&A, London · photo sailko (Wikimedia Commons) · CC BY-SA ↗
 Head of a bodhisattva, Gandhara, Pakistan, Sahri Bahlol, cWikimedia Commons · Daderot ↗
 Le Bodhisattva Maitreya, (Maitreya est le Bouddha du futur)Wikimedia Commons · Jean-Pierre Dalbéra from Paris, France · CC BY ↗
 Head of a Buddha or BodhisattvaThe Met, New York · photo sailko (Wikimedia Commons) · CC BY-SA ↗
 Bust of a bodhisattva (Maitreya)The Met, New York · photo sailko (Wikimedia Commons) · CC BY-SA ↗
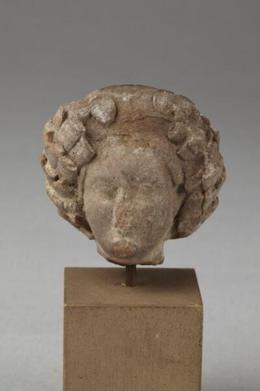 Head, Peshawarپشاور© Victoria and Albert Museum, London ↗
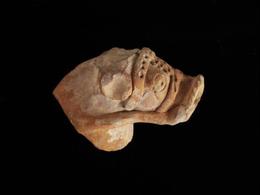 Head, Peshawarپشاور© Victoria and Albert Museum, London ↗
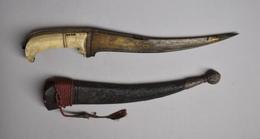 Knife and sheathانھیویں صدی · پشاور© Victoria and Albert Museum, London ↗
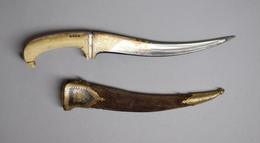 Knife and sheathانھیویں صدی · پشاور© Victoria and Albert Museum, London ↗
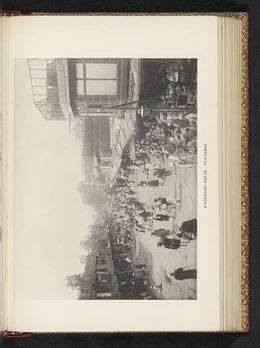 Kissakhani bazár, PeshawarQissa Khawani-bazaarRijksmuseum (via Europeana) ↗
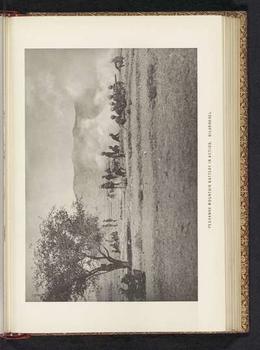 Peshawar mountain battery in actionRijksmuseum (via Europeana) ↗
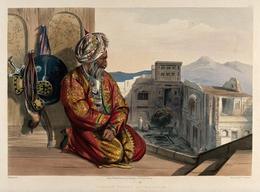 Old Hindu man in contemplation, Peshawar, PakistanWellcome Collection (via Europeana) · CC BY ↗
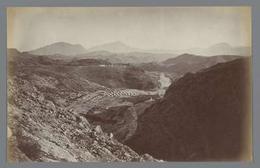 Gezicht op militaire tentenkampen nabij Peshawar gezien vanaf Ali MusjidAfghanistan Afganistan Афганистан Afeganistão Афганистан Afganistanas AfganistanRijksmuseum (via Europeana) ↗
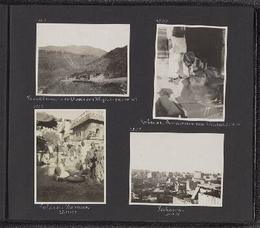 Albumblad met vier foto'sKhyberpas Pakistan Peshawar Pakistan Pakistan Pakistan Пакистан Paquistão ПакистNational Archives of the Netherlands (via Europeana) ↗
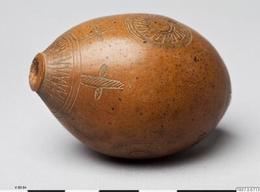 Snusflaska, snuffbox, bala khuPakistan Pakistan Пакистан Paquistão Пакистан Pakistanas Pakistan Pakistāna PakiMuseum of Ethnography (via Europeana) ↗
 Buddha, Peshawar District, Khyber Pakhtunkhwa, Pakistant, cBritish Museum, London · photo Daderot (Wikimedia Commons) ↗
 Buddhist Triad Peshawar MuseumPeshawar Museum · photo Peshawar Museum, 1930 (Wikimedia Commons) ↗
 Excavations at Takht-i Bahi Plate XLIII Fasting Buddha, Peshawar MuseumPeshawar Museum · photo David Brainerd Spooner (February 7, 1879 - January 30, 1925) (Wikimedia Commons) ↗
 Excavations at Takht-i Bahi Plate XLV Fasting Buddha with Tripusha and BhallikaPeshawar Museum · photo David Brainerd Spooner (February 7, 1879 - January 30, 1925) (Wikimedia Commons) ↗
 Fasting Buddha from Takht-i Bahi, Peshawar MuseumPeshawar Museum · photo SuvadipSanyal (Wikimedia Commons) · CC BY-SA ↗
 Hariti, Peshawar Valley, Khyber Pakhtunkhwa, Pakistant, cBritish Museum, London · photo Daderot (Wikimedia Commons) ↗
 Maitreya, Peshawar District, from a stupa courtyard, Jamalgarhi, Khyber PakhtunkhwaBritish Museum, London · photo Daderot (Wikimedia Commons) ↗
 Pedestal of the Fasting Buddha: Pedestal of Fasting Buddha of Peshawar MuseumPeshawar Museum · photo SuvadipSanyal (Wikimedia Commons) · CC BY-SA ↗
 Peshawar City different buildings and historic architecture.Peshawar Museum · photo Eaak79 (Wikimedia Commons) · CC BY-SA ↗
 Peshawar Museum - Great Standing BuddhaPeshawar Museum · photo Batool Nasir (Wikimedia Commons) · CC BY-SA ↗
 Peshawar Museum - Seated BuddhaPeshawar Museum · photo Batool Nasir (Wikimedia Commons) · CC BY-SA ↗
 Peshawar Museum - Standing BuddhaPeshawar Museum · photo Batool Nasir (Wikimedia Commons) · CC BY-SA ↗
 Peshawar Museum - Standing Buddha (cropped)Peshawar Museum · photo Batool Nasir (Wikimedia Commons) · CC BY-SA ↗
 Peshawar Museum BodhisattvaPeshawar Museum · photo Hargreaves, H., Published in India in 1930 (Wikimedia Commons) ↗
 Peshawar Museum Frieze of standing figuresPeshawar Museum · photo Hargreaves, H., Published in India in 1930 (Wikimedia Commons) ↗
 Peshawar Museum HallPeshawar Museum · photo Batool Nasir (Wikimedia Commons) · CC BY-SA ↗
 Peshawar Museum Miracle of SravastiPeshawar Museum · photo Hargreaves, H., Published in India in 1930 (Wikimedia Commons) ↗
 Peshawar Museum Seated BodhisattvaPeshawar Museum · photo Batool Nasir (Wikimedia Commons) · CC BY-SA ↗
 Peshawar Museum Standing BodhisattvaPeshawar Museum · photo Hargreaves, H., Published in India in 1930 (Wikimedia Commons) ↗
 Peshawar Museum Submission of the Naga ApalalaPeshawar Museum · photo Hargreaves, H., Published in India in 1930 (Wikimedia Commons) ↗
 Peshawar Museum Yakshas and GarlandsPeshawar Museum · photo Hargreaves, H., Published in India in 1930 (Wikimedia Commons) ↗
 Karoshti-Inschrift (Peshawar Museum)Peshawar Museum · photo Ziegler175 (Wikimedia Commons) · CC BY-SA ↗
 Buddhistische Gandhara-Kultur (Peshawar Museum)Peshawar Museum · photo Ziegler175 (Wikimedia Commons) · CC BY-SA ↗
 Shiva (Peshawar Museum)Peshawar Museum · photo Ziegler175 (Wikimedia Commons) · CC BY-SA ↗
 Sculpture of Buddha, circa 100-300 CE, Peshawar Valley, Khyber Pakhtunwa, PakistanBritish Museum, London · photo SpeakingArch (Wikimedia Commons) · CC BY-SA ↗
 Sculpture of Maitreya, circa 100-300 CE, Peshawar Valley, Khyber PakhtunwaBritish Museum, London · photo SpeakingArch (Wikimedia Commons) · CC BY-SA ↗
 ss 'Peshawar' in droogdokFormat original: breedte 16 cm (geheel)hoogte 8.0 cmWikimedia Commons ↗
 Terracotta figures from Peshawar region, Pakistan, cBritish Museum, London · photo Daderot (Wikimedia Commons) ↗
 The Old City of Peshawar The handprinting of material in the bazaar quarterWikimedia Commons · Cecil Beaton ↗
 The head of a Bodhisattva is a beautiful example of stucco figures from GandharaIndian Museum, Kolkata · photo Biswarup Ganguly (Wikimedia Commons) · CC BY ↗
 Gandhar style Buddha in Peshawar black stoneWikimedia Commons · Neek-Theri · CC BY-SA ↗
 Grey schist figure of Buddha, featuring in Samadhi, arm raisedWikimedia Commons · CC BY ↗
 Head of a BuddhaAsian Art Museum, San Francisco · photo Ismoon (talk) 13:05, 25 June 2020 (UTC) (Wikimedia Commons) · CC BY-SA ↗
 Sandstone gandhara sculpture of Buddha from Peshawar seated in yogic postureWikimedia Commons · Neek-Theri · CC BY-SA ↗
 Mamane Dheri sculpture Year 89 Kharoshthi inscription.Mamane Dheri sculpture Year 89Peshawar Museum · photo Sten Konow (17 April 1867 – 29 June 1948) (Wikimedia Commons) ↗
 Mamane Dheri sculpture Year 89.Mamane Dheri sculpture Year 89 Kharoshthi inscriptionPeshawar Museum · photo Konow, Sten, 1929 (Wikimedia Commons) ↗
 The Old City of Peshawar A jeweller outside his shop in the street of jewelsWikimedia Commons · Cecil Beaton ↗
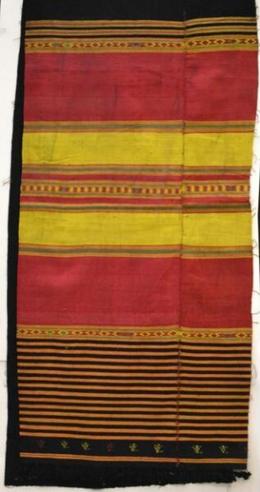 Sashانھیویں صدی · Swat valley© Victoria and Albert Museum, London ↗
 Buddha with His Hand in the Gesture of Reassurance, Philadelphia Museum of ArtPhiladelphia Museum of Art · photo JJonahJackalope (Wikimedia Commons) · CC BY-SA ↗
 National Museum: Buddhism ArtWikimedia Commons · Gary Todd from Xinzheng, China ↗
 First Sermon, 100-300 CE, Lower Swat Valley, Pakistan, British MuseumBritish Museum, London · photo SpeakingArch (Wikimedia Commons) · CC BY-SA ↗
 Stele, Swat ValleyThe Met, New York · photo Wikimedia Commons (Wikimedia Commons) ↗
 Figure, NW Frontier Province, probably Swat ValleyThe Met, New York · photo Wikimedia Commons (Wikimedia Commons) ↗
 Figurine, Swat Valley regionThe Met, New York · photo Wikimedia Commons (Wikimedia Commons) ↗
 Figure, Jammu and Kashmir) or Pakistan (Swat ValleyThe Met, New York · photo Wikimedia Commons (Wikimedia Commons) ↗
 Figure, Swat ValleyThe Met, New York · photo Wikimedia Commons (Wikimedia Commons) ↗
 Sculpture, Swat ValleyThe Met, New York · photo Wikimedia Commons (Wikimedia Commons) ↗
 Figure, Northwest Frontier Province, Swat ValleyThe Met, New York · photo Wikimedia Commons (Wikimedia Commons) ↗
 Asian ceramics in the International Museum of Ceramics in FaenzaWikimedia Commons · Francesco Bini · CC BY-SA ↗
 Relief fragment of Prince Siddhartha, cutting his hair in renunciationAshmolean Museum, Oxford · photo SpeakingArch (Wikimedia Commons) · CC BY-SA ↗
 Statue of a Buddha seated on a lotus throneBritish Library, London · photo Alexander E. Caddy (Wikimedia Commons) ↗
 Url:http://www.metmuseum.org/art/collection/search/49809The Met, New York · photo The Metropolitan Museum of Art (Wikimedia Commons) ↗
 Pakistan, Swat Valley, Butkara (?), Gandhara regionLACMA, Los Angeles · photo Wikimedia Commons (Wikimedia Commons) ↗
 Detail of the upper part of a fly-whisk (tool to swat or disturb flies) from Austral…Wikimedia Commons · Demarque Denis · CC BY-SA ↗
 Pakistan, Swat Valley, Gandhara Grave CultureLACMA, Los Angeles · photo Wikimedia Commons (Wikimedia Commons) ↗
 Lieutenant Hector Lachlan Stewart Maclean, Staff Corps and Corps of Guides, Indian ArmyWikimedia Commons ↗
 Pakistan, Swat Valley (?), Gandhara regionLACMA, Los Angeles · photo Wikimedia Commons (Wikimedia Commons) ↗
 Figure, Northwest Frontier Province, probably Swat ValleyThe Met, New York · photo Wikimedia Commons (Wikimedia Commons) ↗
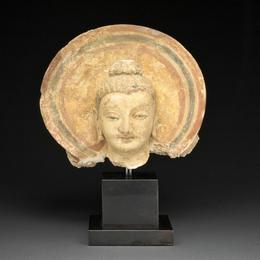
 Halo, Northwest Frontier Province, Swat ValleyThe Met, New York · photo Wikimedia Commons (Wikimedia Commons) ↗
 Figure, Northwest Frontier Providence, Swat ValleyThe Met, New York · photo Wikimedia Commons (Wikimedia Commons) ↗
 Fragment of halo, Northwest Frontier Province, Swat ValleyThe Met, New York · photo Wikimedia Commons (Wikimedia Commons) ↗
 Figure, likely Swat Valley or Gilgit regionThe Met, New York · photo Wikimedia Commons (Wikimedia Commons) ↗
 Relief, ancient region of Gandhara, Swat ValleyThe Met, New York · photo Wikimedia Commons (Wikimedia Commons) ↗
 Relief panel, ancient region Gandhara (Swat Valley?The Met, New York · photo Wikimedia Commons (Wikimedia Commons) ↗
 Stair riser, ancient region Gandhara (Swat Valley?The Met, New York · photo Wikimedia Commons (Wikimedia Commons) ↗
 Marine_deities or BoatmenThe Met, New York · photo Uploadalt (Wikimedia Commons) · CC BY-SA ↗
 Pakistan, Swat Valley, Butkara I area, Gandhara regionLACMA, Los Angeles · photo Wikimedia Commons (Wikimedia Commons) ↗
 Grey schist figure of Buddha, featuring in Samadhi, arm raisedWikimedia Commons · CC BY ↗
 Toffel, skoPakistan Pakistan Пакистан Paquistão Пакистан Pakistanas Pakistan Pakistāna PakiMuseum of Ethnography (via Europeana) ↗
 Meditating BuddhaTaxila Museum · photo Ismoon (talk) (Wikimedia Commons) · CC BY-SA ↗
 Aiguière en bronze, Gandhara ou nord-ouest de l'Inde (Musee Ashmolean)Ashmolean Museum, Oxford · photo Wikimedia Commons (Wikimedia Commons) ↗
 Frieze fragment depicting a female attendant among acanthus leaves From BactriaAshmolean Museum, Oxford · photo SpeakingArch (Wikimedia Commons) · CC BY-SA ↗
 Hariti and Panchika(or Kubera and Ardochsho), Gandhara, 100-300 CEAshmolean Museum, Oxford · photo SpeakingArch (Wikimedia Commons) · CC BY-SA ↗
 Lady holding a mirror, Gandhara School of Art, provenance unknown, circa 100-300 CEAshmolean Museum, Oxford · photo SpeakingArch (Wikimedia Commons) · CC BY-SA ↗
 Relief depicting the Buddha's descent from the Heaven of the thirty-three godsAshmolean Museum, Oxford · photo SpeakingArch (Wikimedia Commons) · CC BY-SA ↗
 Schist Sculpture of Atlas, 100-300 CE, Jamalgarhi, Ashmolean Museum, OxfordAshmolean Museum, Oxford · photo SpeakingArch (Wikimedia Commons) · CC BY-SA ↗
 Silver Repoussé Roundel of Hariti, circa 100-300 CE, housed at the Ashmolean MuseumAshmolean Museum, Oxford · photo SpeakingArch (Wikimedia Commons) · CC BY-SA ↗
 A Symposium (male drinking party) depicted on a ritual tray, Gandhara School of ArtBritish Museum, London · photo SpeakingArch (Wikimedia Commons) · CC BY-SA ↗
 The dream of Maya, circa 100-300 CE, Gandhara School of Art, Jamalgarhi, PakistanBritish Museum, London · photo SpeakingArch (Wikimedia Commons) · CC BY-SA ↗
 Figura de Buda con forma humana sentado en la postura del loto, predicando o bendiciendoBritish Museum, London · photo Jl FilpoC (Wikimedia Commons) · CC BY-SA ↗
 Vajrapani, ‘holder of the thunderbolt’, is one of the Buddha's attendants who embodies…British Museum, London · photo SpeakingArch (Wikimedia Commons) · CC BY-SA ↗
 Gandhara Herakles, Asia, G33 South Asia British Museum, EnglandBritish Museum, London · photo Anthony Huan (Wikimedia Commons) · CC BY-SA ↗
 Indian coinage, Asia, G33 South Asia (Gandhara) British Museum, EnglandBritish Museum, London · photo Anthony Huan (Wikimedia Commons) · CC BY-SA ↗
 This reliquary casket is a globular-shaped container with a lidBritish Museum, London · photo SpeakingArch (Wikimedia Commons) · CC BY-SA ↗
 Stone stupa drum panel showing intervention of Anand to initiate an order of nunsBritish Museum, London · photo SpeakingArch (Wikimedia Commons) · CC BY-SA ↗
 Taxila copper plate Another view:British Museum, London · photo PHGCOM (Wikimedia Commons) · CC BY-SA ↗
 Drawing of a stone sculptureBritish Museum, London · photo Gandhara school (Wikimedia Commons) ↗
 Taxila gate and city of Peshawar (N.W.F.P.); camels in foregroundBritish Library, London · photo Cramer-Roberts, Charles J. (1834-1895) (Wikimedia Commons) ↗
 Fragmentary Buddhist text The manuscript is written on birchbark and is part of a group…British Library, London · photo Wikimedia Commons (Wikimedia Commons) ↗
 Detail, hornblende schist rock figure of Buddha, from Gandhara School, IndiaNational Museum of Scotland · photo Osama Shukir Muhammed Amin FRCP(Glasg) (Wikimedia Commons) · CC BY-SA ↗
 Dish with "Apollo and DaphneThe Met, New York · photo Ismoon (talk) 22:32, 27 January 2023 (UTC) (Wikimedia Commons) · CC BY-SA ↗
 Door guardian ( Dvarapala ) with a bowThe Met, New York · photo Ismoon (talk) (Wikimedia Commons) · CC BY-SA ↗
 Garuda vanquishing the Naga clanThe Met, New York · photo Ismoon (talk) (Wikimedia Commons) · CC BY-SA ↗
 Incense burnerThe Met, New York · photo Ismoon (talk) (Wikimedia Commons) · CC BY-SA ↗
 Afghanistan (Hadda)The Met, New York · photo Wikimedia Commons (Wikimedia Commons) ↗
 Fasting Buddha ShakyamuniThe Met, New York · photo sailko (Wikimedia Commons) · CC BY-SA ↗
 Wrestler's weight with Hercules and the Nemean Lion; reverse : Wrestling sceneThe Met, New York · photo user:sailko (Wikimedia Commons) · CC BY-SA ↗
 Reliquary in the Shape of a StupaThe Met, New York · photo Ismoon (talk) (Wikimedia Commons) · CC BY-SA ↗
 Rondel with the Goddess HaritiThe Met, New York · photo Ismoon (talk) (Wikimedia Commons) · CC BY-SA ↗
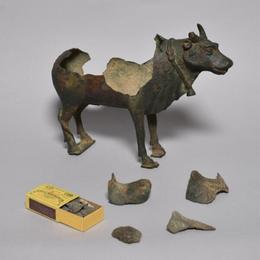
 Box Lid with a BullThe Met, New York · photo Ismoon (talk) (Wikimedia Commons) · CC BY-SA ↗
 Box Lid with a Winged Lion and Remnant of an Iron HingeThe Met, New York · photo Ismoon (talk) (Wikimedia Commons) · CC BY-SA ↗
 The Dream of Queen Maya (the Buddha's Conception)The Met, New York · photo Ismoon (talk) (Wikimedia Commons) · CC BY-SA ↗
 Head of Dionysos (The God of Wine and Divine Intoxication)The Met, New York · photo Ismoon (talk) (Wikimedia Commons) · CC BY-SA ↗
 Relief, ancient region of Gandhara,TaxilaThe Met, New York · photo Wikimedia Commons (Wikimedia Commons) ↗
 Disk stone, ancient region of Gandhara, TaxilaThe Met, New York · photo Wikimedia Commons (Wikimedia Commons) ↗
 Fragmentary ritual water vessel with an elephant spoutThe Met, New York · photo Ismoon (talk) (Wikimedia Commons) · CC BY-SA ↗
 Stair Riser : Dionysian Scene with Musicians and DancersThe Met, New York · photo Ismoon (talk) (Wikimedia Commons) · CC BY-SA ↗
 Birth of the Buddha ShakyamuniThe Met, New York · photo Ismoon (talk) (Wikimedia Commons) · CC BY-SA ↗
 The Death of the Buddha (Parinirvana)The Met, New York · photo Ismoon (talk) (Wikimedia Commons) · CC BY-SA ↗
 Panel of a portable shrineThe Met, New York · photo Ismoon (talk) (Wikimedia Commons) · CC BY-SA ↗
 Head, ancient region of GandharaThe Met, New York · photo Wikimedia Commons (Wikimedia Commons) ↗
 Figure, ancient region of GandharaThe Met, New York · photo Wikimedia Commons (Wikimedia Commons) ↗
 Garland holder, ancient region of GandharaThe Met, New York · photo Wikimedia Commons (Wikimedia Commons) ↗
 Pakistan (ancient region of Gandhara); Dish or palette with a Mythological CoupleThe Met, New York · photo Wikimedia Commons (Wikimedia Commons) ↗
 Dish, ancient region of GandharaThe Met, New York · photo Wikimedia Commons (Wikimedia Commons) ↗
 Finial, ancient region of GandharaThe Met, New York · photo Wikimedia Commons (Wikimedia Commons) ↗
 Rondel, ancient region of GandharaThe Met, New York · photo Wikimedia Commons (Wikimedia Commons) ↗
 Relief panel, ancient region of GandharaThe Met, New York · photo Wikimedia Commons (Wikimedia Commons) ↗
 Indo-Greek stone palette.The Met, New York · photo PHGCOM (Wikimedia Commons) · CC BY-SA ↗
 Arte del gandhara, donne aristocratiche, II secLACMA, Los Angeles · photo sailko (Wikimedia Commons) · CC BY-SA ↗
 Pakistan, Taxila area (?), Gandhara regionLACMA, Los Angeles · photo Wikimedia Commons (Wikimedia Commons) ↗
 Pakistan, Gandhara region, 100-150 Sculpture Gray schist 12 x 11 3/4 x 3 1/4 inLACMA, Los Angeles · photo Wikimedia Commons (Wikimedia Commons) ↗
 Pakistan, Gandhara region, circa 200-300 Sculpture Gray schist Gift of Henry and Ruth…LACMA, Los Angeles · photo Wikimedia Commons (Wikimedia Commons) ↗
 Pakistan, Sirkap or Charsadda, Gandhara regionLACMA, Los Angeles · photo Wikimedia Commons (Wikimedia Commons) ↗
 Pakistan, Gandhara region, or AfghanistanLACMA, Los Angeles · photo Wikimedia Commons (Wikimedia Commons) ↗
 Pakistan, Peshawar Division, Gandhara regionLACMA, Los Angeles · photo Wikimedia Commons (Wikimedia Commons) ↗
 This stucco head with black pigments still remaining in the eyes once belonged to a…Walters Art Museum, Baltimore · photo Wikimedia Commons (Wikimedia Commons) ↗
 Pakistani - Narrative Panels with Scenes from the Buddha's Life - Walters 25259Walters Art Museum, Baltimore · photo Wikimedia Commons (Wikimedia Commons) ↗
 One side of an architectural element that would have been part of the base or…Asian Art Museum, San Francisco · photo BrokenSphere (Wikimedia Commons) · CC BY-SA ↗
 Sculpture in the Asian Art Museum of San Francisco, California, USA.Asian Art Museum, San Francisco · photo Daderot (Wikimedia Commons) ↗
 Standing BuddhaAsian Art Museum, San Francisco · photo Ismoon (talk) (Wikimedia Commons) · CC BY-SA ↗
 The Buddha Visits His Former WifeAsian Art Museum, San Francisco · photo A Gude (Wikimedia Commons) · CC BY-SA ↗
 These two early Indian Buddhas - the leftAsian Art Museum, San Francisco · photo InSapphoWeTrust from Los Angeles, California, USA (Wikimedia Commons) · CC BY-SA ↗
 Bacchanalian_scene GandharaMusée Guimet, Paris · photo Uploadmo (Wikimedia Commons) · CC BY-SA ↗
 Lions and geniiMuseum Rietberg, Zurich · photo Photograph: Andreas Praefcke (Wikimedia Commons) ↗
 King Suddhodana (father of Prince Siddhartha) performs the ploughing ritual, PakistanMuseum Rietberg, Zurich · photo Photograph: Andreas Praefcke (Wikimedia Commons) ↗
 The prophecy of the seer AsitaMuseum Rietberg, Zurich · photo Photograph: Andreas Praefcke (Wikimedia Commons) ↗
 Schist relief depicting the Buddha and the Vajrapani (Museum für Asiatische KunstMuseum für Asiatische Kunst, Berlin · photo Antonio Amato (Wikimedia Commons) · CC BY-SA ↗
 Schist relief depicting the Invitation to Preach (Museum für Asiatische Kunst, Berlin).Museum für Asiatische Kunst, Berlin · photo Antonio Amato (Wikimedia Commons) ↗
 Statue of the Buddha Museum für Asiatische Kunst, BerlinMuseum für Asiatische Kunst, Berlin · photo Antonio Amato (Wikimedia Commons) · CC BY-SA ↗
 Relief with the Buddha preaching Museum für Asiatische Kunst, BerlinMuseum für Asiatische Kunst, Berlin · photo Antonio Amato (Wikimedia Commons) · CC BY-SA ↗
 Relief with Maitreya and worshippers Museum für Asiatische Kunst, BerlinMuseum für Asiatische Kunst, Berlin · photo Antonio Amato (Wikimedia Commons) · CC BY-SA ↗
 Siddharta and wife YasodharaLahore Museum · photo Wikimedia Commons (Wikimedia Commons) ↗
 Adoration of Buddha, Gandhara School of Art, North West Frontier ProvinceGovernment Museum, Chandigarh · photo SpeakingArch (Wikimedia Commons) · CC BY-SA ↗
 Hariti 132 X 54 cms cGovernment Museum, Chandigarh · photo Government Museum and Art Gallery, Chandigarh (Wikimedia Commons) · CC BY-SA ↗
 Buddha and other divinitiesGovernment Museum, Chandigarh · photo SpeakingArch (Wikimedia Commons) · CC BY-SA ↗
 Nanda-Sundari was Buddha's half-sister, who renounced worldly pleasures out of love for…Indian Museum, Kolkata · photo SpeakingArch (Wikimedia Commons) · CC BY-SA ↗
 Sculpture of Maitreya, Lorian Tangai, unknown, Gandhara School of Art, Indian MuseumIndian Museum, Kolkata · photo SpeakingArch (Wikimedia Commons) · CC BY-SA ↗
 Gandhara school of art represents a combination of Greco-Roman and Indian ideas that…Indian Museum, Kolkata · photo The Nomadic Stalker (Wikimedia Commons) · CC BY ↗
 It is in the form of a stele which has a tenon at the baseIndian Museum, Kolkata · photo Biswarup Ganguly (Wikimedia Commons) · CC BY ↗
 Gandhara river god statuetteTaxila Museum · photo Fabri,c.l. Publication date 1933 (Wikimedia Commons) ↗
 Jaulian Monastery foreignerTaxila Museum · photo Marshall, John (Wikimedia Commons) ↗
 The stone art of Pakistan started from TaxilaLok Virsa Museum, Islamabad · photo Sanam Raza Khan (Wikimedia Commons) · CC BY-SA ↗
 Standing BodhisattvaIndian Museum, Kolkata · photo G41rn8 (Wikimedia Commons) · CC BY-SA ↗
 Cross-legged Bodhisattva, Mardan, Pakistan, Kushan dynasty, 100s-200s AD, schistWikimedia Commons · Daderot ↗
 Bodhisattva Padmapani jambes croisées Cette représentation est fréquente dans l'art du…Wikimedia Commons · Jean-Pierre Dalbéra from Paris, France · CC BY ↗
 I captured this Beautiful view of Peshawar Uni museum.Peshawar Museum · photo Kaleem Afzal Khan (Wikimedia Commons) · CC BY-SA ↗
 Peshaer Musaim 1Wikimedia Commons · Rizwan Ullah Wazir · CC BY ↗
 Peshaer Musaim 2Wikimedia Commons · Rizwan Ullah Wazir · CC BY ↗
 Figure, NW Frontier Province, probably Swat ValleyThe Met, New York · photo Wikimedia Commons (Wikimedia Commons) ↗
 Figure, Jammu and Kashmir) or Pakistan (Swat ValleyThe Met, New York · photo Wikimedia Commons (Wikimedia Commons) ↗
 Relief, ancient region of GandharaThe Met, New York · photo Wikimedia Commons (Wikimedia Commons) ↗
 Panel, ancient region of GandharaThe Met, New York · photo Wikimedia Commons (Wikimedia Commons) ↗
 Pakistan, Gandhara region, circa 200 Sculpture Gray schist 68 x 23 1/4 x 8 inLACMA, Los Angeles · photo Wikimedia Commons (Wikimedia Commons) ↗
 Gandhara school of art represents a combination of Greco-Roman and Indian ideas that…Indian Museum, Kolkata · photo The Nomadic Stalker (Wikimedia Commons) · CC BY ↗
 Pakistan, Gandhara region, 2nd-early 3rd century Sculpture Gray schist Gift of MrLACMA, Los Angeles · photo Wikimedia Commons (Wikimedia Commons) ↗
 Head of Bodhisattva, 150-300 CE, near Peshawar, Gandhara, V&AV&A, London · photo SpeakingArch (Wikimedia Commons) · CC BY-SA ↗
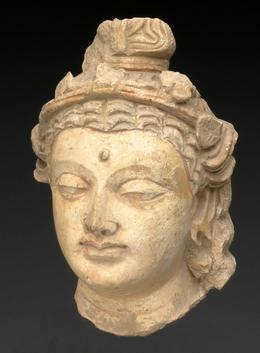 Bodhisattva Head3ویں صدی · گندھارArt Institute of Chicago ↗
 Buddha Head3rd-5th century · گندھارArt Institute of Chicago ↗
 Buddha Head3rd-5th century · گندھارArt Institute of Chicago ↗
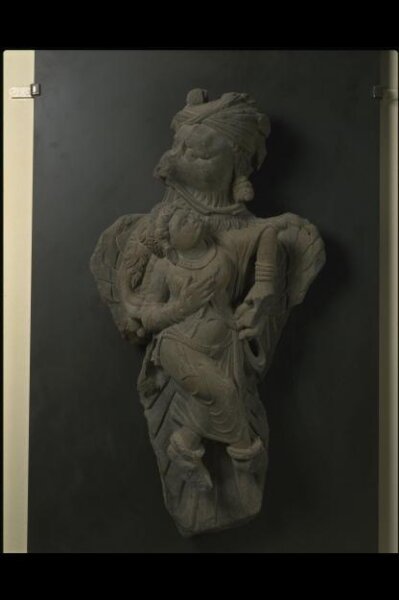 Garuda abducting Queen Kakati3rd century - 4th century · گندھار© Victoria and Albert Museum, London ↗
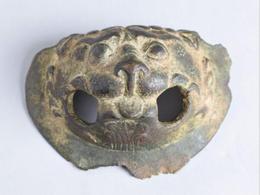 Lion-head lug from a cauldron3rd century - 4th Century · گندھار© Victoria and Albert Museum, London ↗
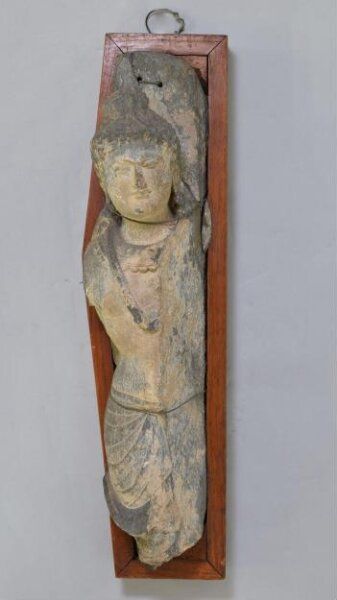 Relief3ویں صدی · گندھار© Victoria and Albert Museum, London ↗
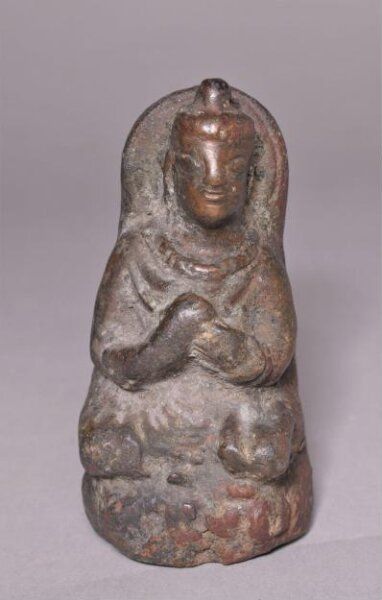 مورتیکلا3rd Century · گندھار© Victoria and Albert Museum, London ↗
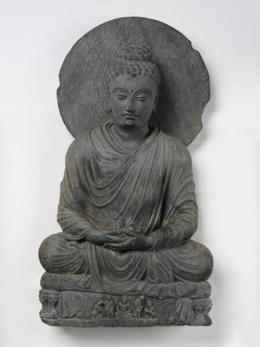 Seated Buddha3rd century-4th century · گندھار© Victoria and Albert Museum, London ↗
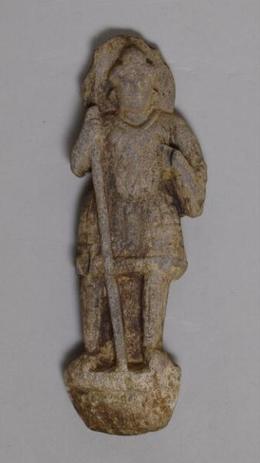
 Figure, Gandhara3rd century to 5th Century · گندھار© Victoria and Albert Museum, London ↗
 مورتیکلا3rd century to 5th Century · گندھار© Victoria and Albert Museum, London ↗
 مورتیکلا3rd century to 5th Century · گندھار© Victoria and Albert Museum, London ↗
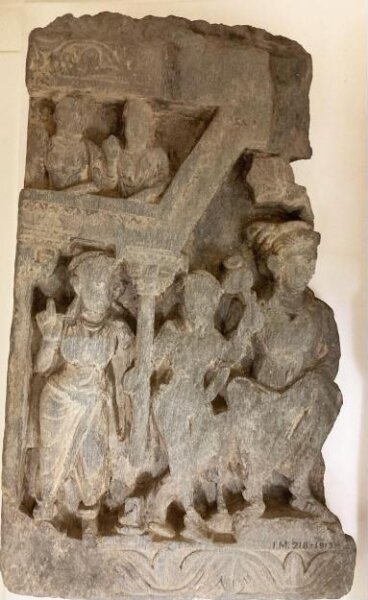 Relief3ویں صدی · گندھار© Victoria and Albert Museum, London ↗
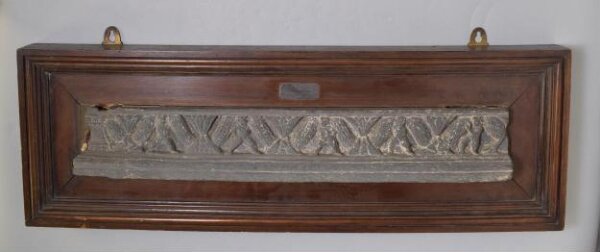 Relief3ویں صدی · گندھار© Victoria and Albert Museum, London ↗
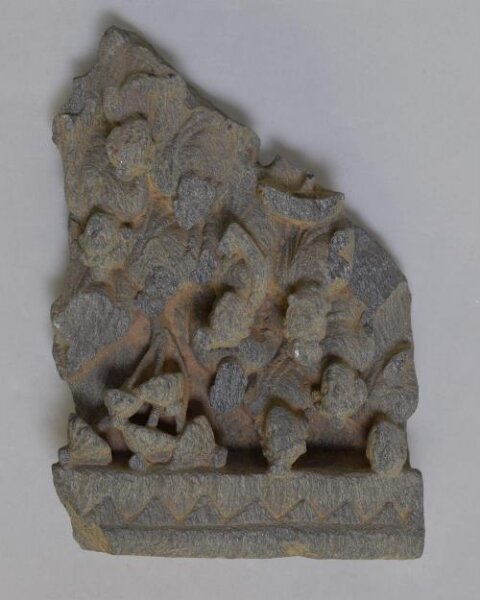 Relief3ویں صدی · گندھار© Victoria and Albert Museum, London ↗
 Relief panel, Gandhara3ویں صدی · گندھار© Victoria and Albert Museum, London ↗
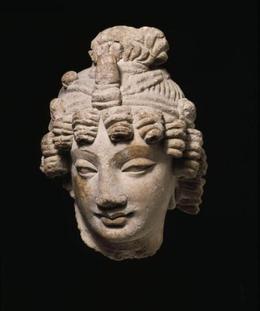 Head of a Bodhisattva3rd century-5th century · پشاور© Victoria and Albert Museum, London ↗
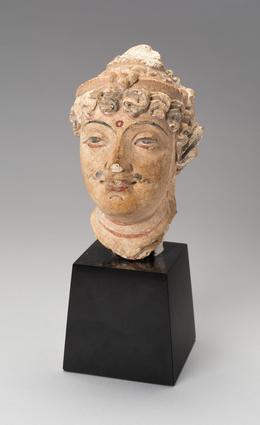
 Head, Swat Valley3ویں صدی · Swat Valley© Victoria and Albert Museum, London ↗
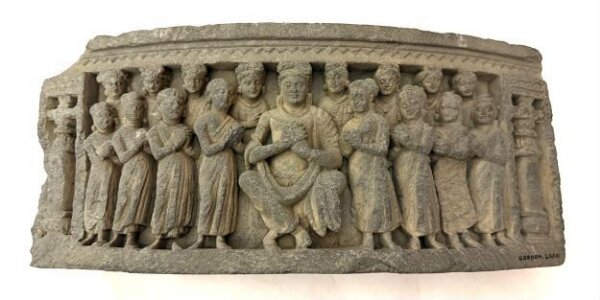 Relief panel, Gandhara3rd century to 4th century AD · گندھار© Victoria and Albert Museum, London ↗
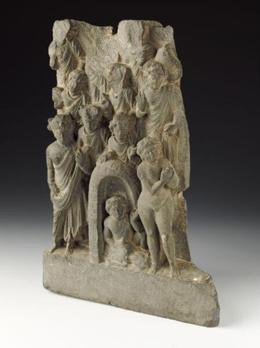 Narrative tale of the Nursling, Sudaya, and his dead mother3ویں صدی · گندھار© Victoria and Albert Museum, London ↗
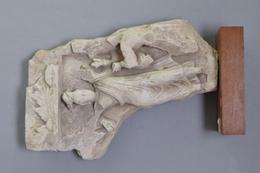 Low Relief3rd century to 5th Century · گندھار© Victoria and Albert Museum, London ↗
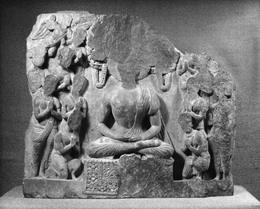 Relief3ویں صدی · گندھار© Victoria and Albert Museum, London ↗
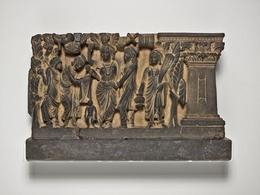 The Birth and First Seven Steps of the Buddha3ویں صدی · گندھارArt Institute of Chicago ↗
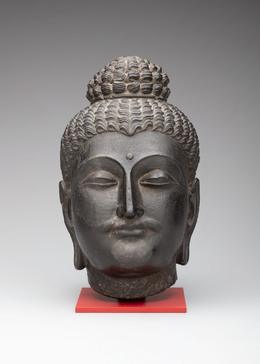 Buddha Head3ویں صدی · گندھارArt Institute of Chicago ↗
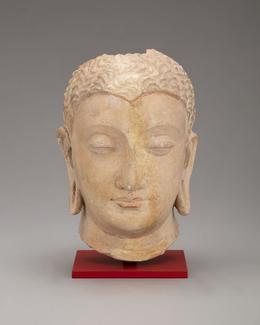 Buddha Head3rd–5th century · گندھارArt Institute of Chicago ↗
 Buddha Head3rd–5th century · گندھارArt Institute of Chicago ↗
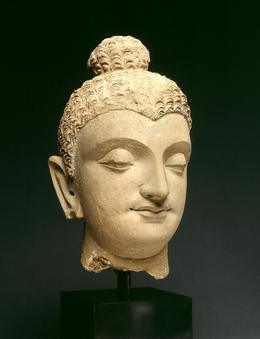 Buddha Head3rd - 5th century · گندھارArt Institute of Chicago ↗
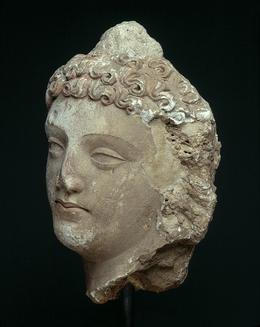 Male Head3rd-5th century · گندھارArt Institute of Chicago ↗
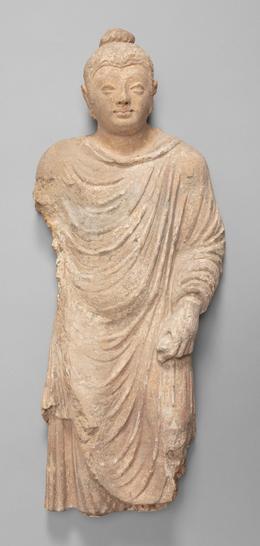 Walking Buddha3rd-5th century · گندھارArt Institute of Chicago ↗
 Buddha Head3rd-5th century · گندھارArt Institute of Chicago ↗
 Bodhisattva Head3ویں صدی · گندھارArt Institute of Chicago ↗
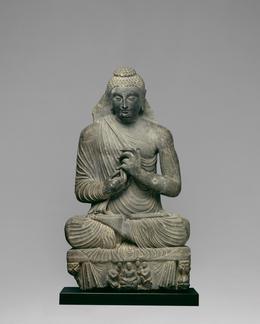 Preaching Buddha3ویں صدی · گندھارArt Institute of Chicago ↗
 Atlas, Gandhara, 200-300 CE, Islamabad Museum, PakistanWikimedia Commons · SpeakingArch · CC BY-SA ↗
 Stucco head, Gandhara, 3rd century CE, Fitzwilliam Museum, CambridgeFitzwilliam Museum, Cambridge · photo SpeakingArch (Wikimedia Commons) · CC BY-SA ↗
 Head of Buddha, 3rd century CE, Gandhara, Government Museum and Art Gallery, ChandigarhGovernment Museum, Chandigarh · photo SpeakingArch (Wikimedia Commons) · CC BY-SA ↗
 Schist head of Buddha, mid 3rd century CE, Gandhara, Fitzwilliam Museum, CambridgeFitzwilliam Museum, Cambridge · photo SpeakingArch (Wikimedia Commons) · CC BY-SA ↗
 Seated Buddha from Afghanistan, Gandhara, 3rd-4th century CEWikimedia Commons · Hiart ↗
 Stucco head of Buddha, 3rd century CE, Gandhara, Government Museum and Art GalleryGovernment Museum, Chandigarh · photo SpeakingArch (Wikimedia Commons) · CC BY-SA ↗
 Buddha in Dhyana Mudra, circa 200-300 CE, Gandhara School of ArtWikimedia Commons · SpeakingArch · CC BY-SA ↗
 Panel showing Buddha preaching a sermon, Nathu Lower Monastery, 3rd century CEGovernment Museum, Chandigarh · photo SpeakingArch (Wikimedia Commons) · CC BY-SA ↗
 Standing Buddha, Indian, Gandhara, 3rd century AD, schistWikimedia Commons · Original artisans unknown; photograph by Daderot. ↗
 Bodhisattva, Pakistan, Gandhara, 3rd-4th century CE, grey schist, Honolulu Academy of ArtsWikimedia Commons · Hiart ↗
 Stucco head of bodhisattva, 3rd century CE, Gandhara, Government Museum and Art GalleryGovernment Museum, Chandigarh · photo SpeakingArch (Wikimedia Commons) · CC BY-SA ↗
 Bodhisattva, from Gandhara, Pakistan, 2d or 3rd century, schistWikimedia Commons · Vassil ↗
 Standing Bodhisattva Maitreya (schist), Pakistan (3rd century)The Met, New York · photo Shakti (Wikimedia Commons) · CC BY-SA ↗
 Bust of a Bodhisattva Shakyamuni (schist), Pakistan (3rd century - 4th century)The Met, New York · photo Shakti (Wikimedia Commons) · CC BY-SA ↗
 Standing bodhisattva, Pakistan or Afganistan, Gandhara region, 3rd century CEWikimedia Commons · Hiart ↗
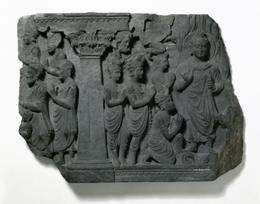 مورتیکلا3ویں صدی · Swat Valley© Victoria and Albert Museum, London ↗
 Relief panel, Swat Valley3ویں صدی · Swat Valley© Victoria and Albert Museum, London ↗
 Relief3ویں صدی · Swat Valley© Victoria and Albert Museum, London ↗
 Relief Fragment3ویں صدی · Swat Valley© Victoria and Albert Museum, London ↗
 Relief3ویں صدی · Swat Valley© Victoria and Albert Museum, London ↗
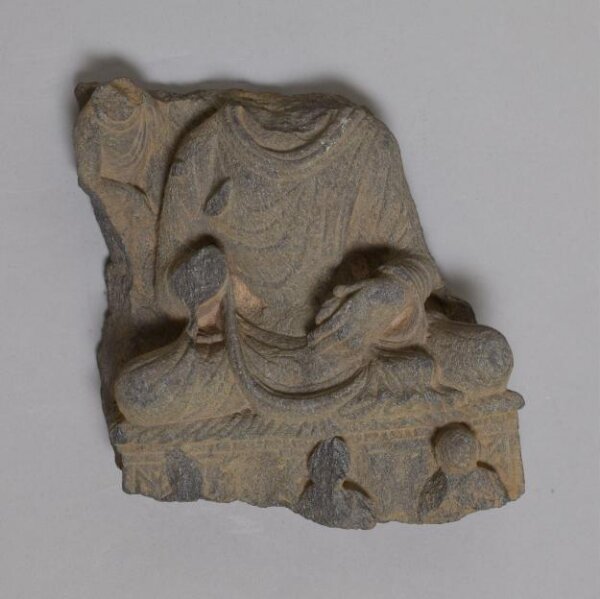 Relief3ویں صدی · Swat Valley© Victoria and Albert Museum, London ↗
 Hornblende schist rock figure of Buddha, from Gandhara School, India, 200-300 CENational Museum of Scotland · photo Osama Shukir Muhammed Amin FRCP(Glasg) (Wikimedia Commons) · CC BY-SA ↗
 Karttikeya, 3rd-4th centuryBrooklyn Museum · photo Brooklyn Museum (Wikimedia Commons) · CC BY ↗
 Pakistan, Gandhara region, 3rd century Sculpture Gray schist 11 7/8 x 8 1/8 x 1 3/4 inLACMA, Los Angeles · photo Wikimedia Commons (Wikimedia Commons) ↗
 The secret escape of Prince Siddhartha, Pakistan, Gandhara area, 3rd/4th centuryMuseum Rietberg, Zurich · photo Photograph: Andreas Praefcke (Wikimedia Commons) ↗
 The wedding of Prince Siddhartha, Pakistan, Gandhara area, 3rd/4th centuryMuseum Rietberg, Zurich · photo Photograph: Andreas Praefcke (Wikimedia Commons) ↗
 Adoration of Buddha, circa 3rd century CEGovernment Museum, Chandigarh · photo SpeakingArch (Wikimedia Commons) · CC BY-SA ↗
 Standing figure of Bodhisattva, Charsadda, late 3rd century CE, Gandhara School of ArtGovernment Museum, Chandigarh · photo SpeakingArch (Wikimedia Commons) · CC BY-SA ↗
 Relief panel, Swat Districtlate 3rd century · Swat District© Victoria and Albert Museum, London ↗
 Amitabh preaching in Sukhavati Heaven Late 3rd century C.EGovernment Museum, Chandigarh · photo SpeakingArch (Wikimedia Commons) · CC BY-SA ↗
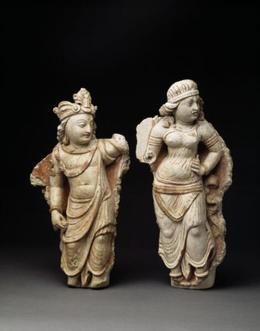 Male attendant4th century-5th century · گندھار© Victoria and Albert Museum, London ↗
 Relief4ویں صدی · گندھار© Victoria and Albert Museum, London ↗
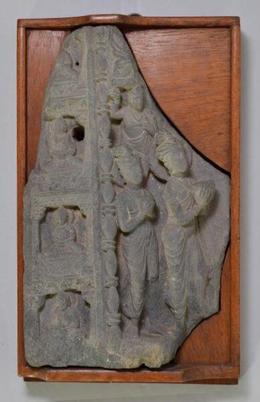 Relief4ویں صدی · گندھار© Victoria and Albert Museum, London ↗
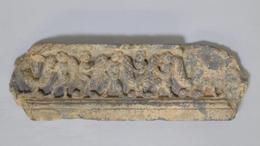 Relief panel, Gandhara4ویں صدی · گندھار© Victoria and Albert Museum, London ↗
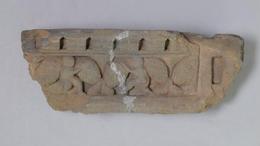 Relief panel, Gandhara4ویں صدی · گندھار© Victoria and Albert Museum, London ↗
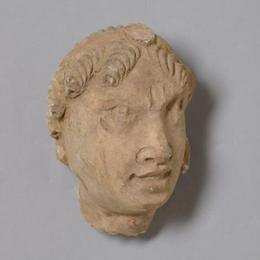 مورتیکلا4th century to 5th Century · گندھار© Victoria and Albert Museum, London ↗
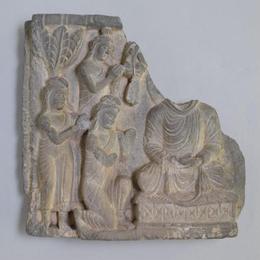 Relief4ویں صدی · گندھار© Victoria and Albert Museum, London ↗
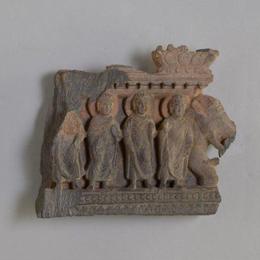 Relief panel, Gandhara4ویں صدی · گندھار© Victoria and Albert Museum, London ↗
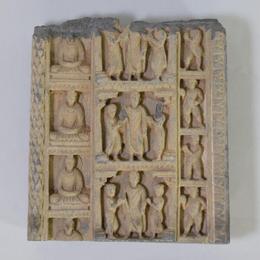 Relief4ویں صدی · گندھار© Victoria and Albert Museum, London ↗
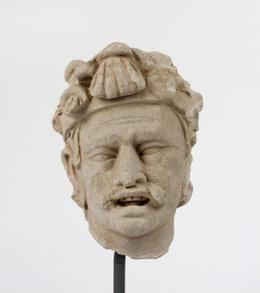 مورتیکلا4th century -5th Century · گندھار© Victoria and Albert Museum, London ↗
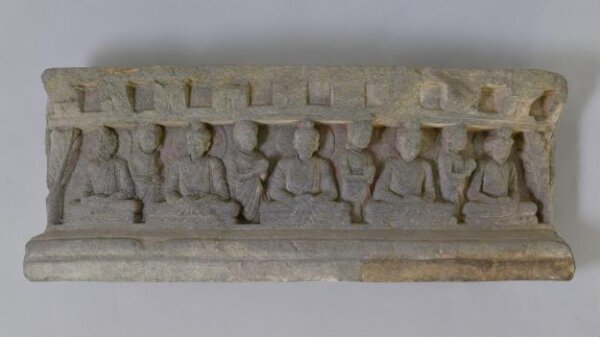 Relief4ویں صدی · گندھار© Victoria and Albert Museum, London ↗
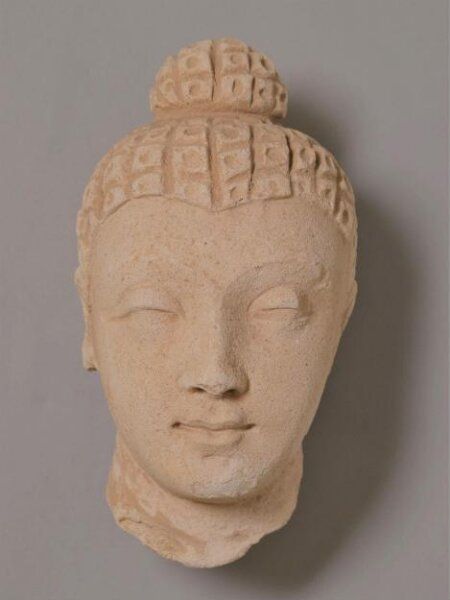 Buddhac.4th century · گندھار© Victoria and Albert Museum, London ↗
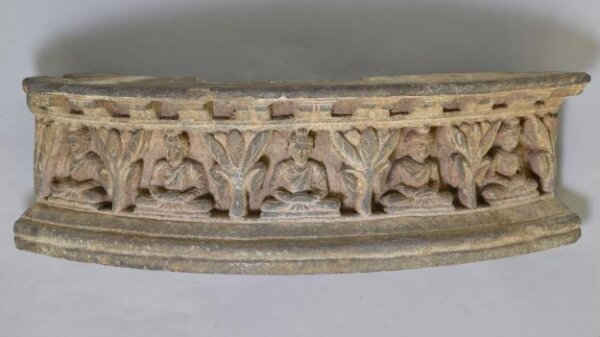 Relief4ویں صدی · گندھار© Victoria and Albert Museum, London ↗
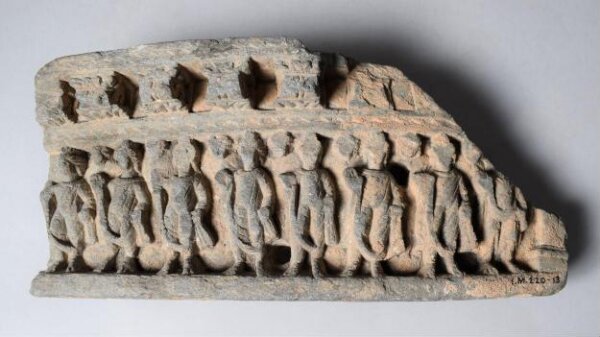 Relief4ویں صدی · گندھار© Victoria and Albert Museum, London ↗
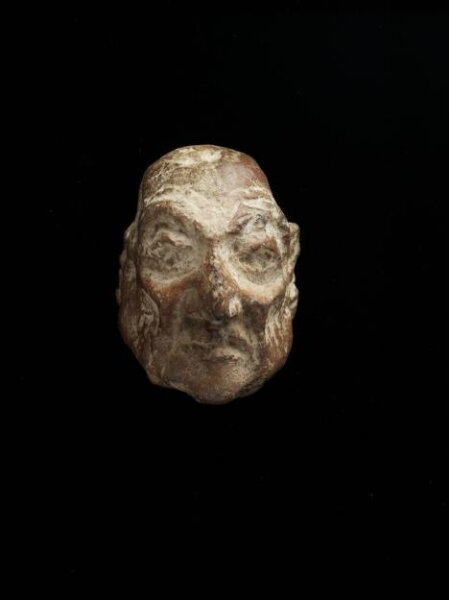 Head, Taxilac.180 BC-50 BC or 4th century-5th century AD · ٹیکسلا© Victoria and Albert Museum, London ↗
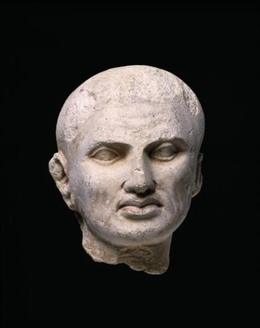 Head of a monk4th century-5th century · گندھار© Victoria and Albert Museum, London ↗
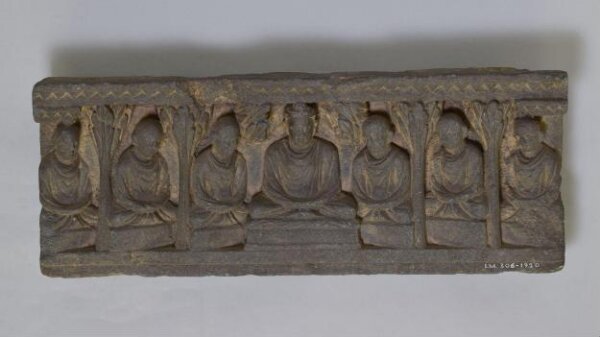 Relief4ویں صدی · گندھار© Victoria and Albert Museum, London ↗
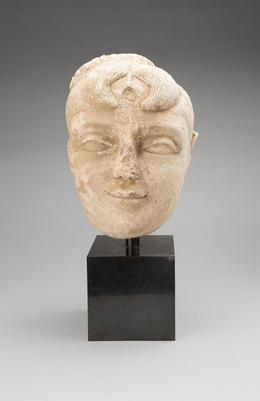 Head of a Female Deity4th/5th century · گندھارArt Institute of Chicago ↗
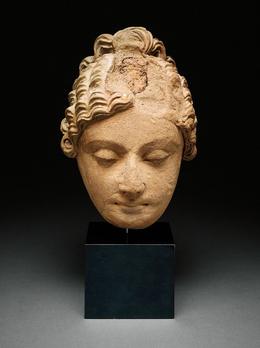 Head of an Adorant4th/5th century · گندھارArt Institute of Chicago ↗
 Guardian of the Directions (Lokapala)4ویں صدی · پاکستانArt Institute of Chicago ↗
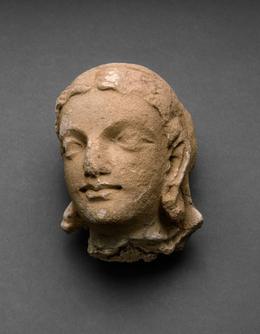 Head of a Female Adorant4th/5th century · گندھارArt Institute of Chicago ↗
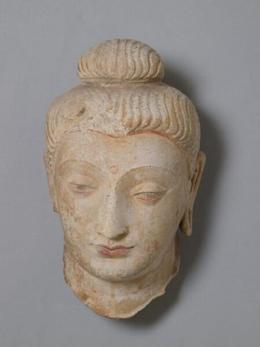 Head of buddhaca. 4th century - 5th century · Khyber Pass region© Victoria and Albert Museum, London ↗
 4th Century Meditating Budhaat from Gandhara Civilization Taxila Museum PakistanTaxila Museum · photo CR Guru PK (Wikimedia Commons) · CC BY-SA ↗
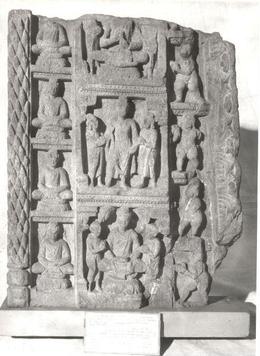 Relief panel, Swat Valley4ویں صدی · Swat Valley© Victoria and Albert Museum, London ↗
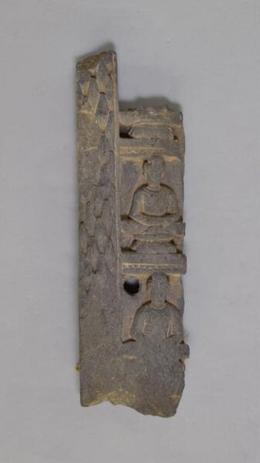 Relief panel, Swat Valley4ویں صدی · Swat Valley© Victoria and Albert Museum, London ↗
 Relief panel, Swat Valley4ویں صدی · Swat Valley© Victoria and Albert Museum, London ↗
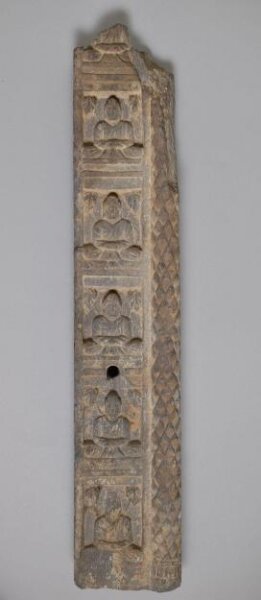 Relief4ویں صدی · Swat Valley© Victoria and Albert Museum, London ↗
 Relief panel, Swat Valley4ویں صدی · Swat Valley© Victoria and Albert Museum, London ↗
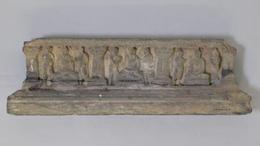 Fragment, Swat Valley4ویں صدی · Swat Valley© Victoria and Albert Museum, London ↗
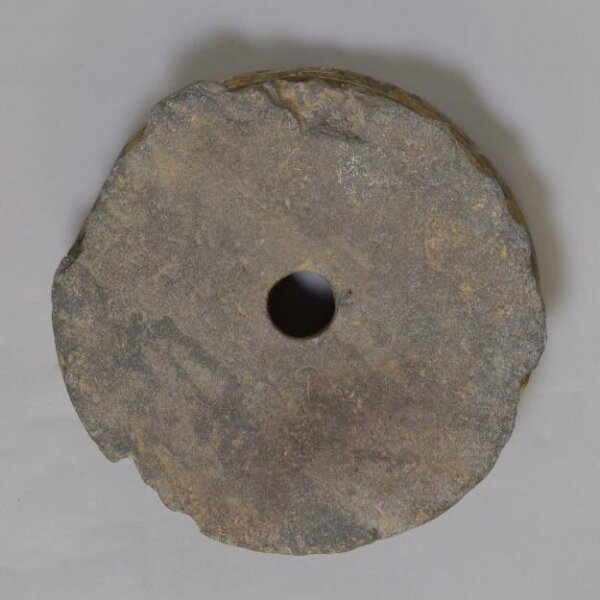 Relief4ویں صدی · Swat Valley© Victoria and Albert Museum, London ↗
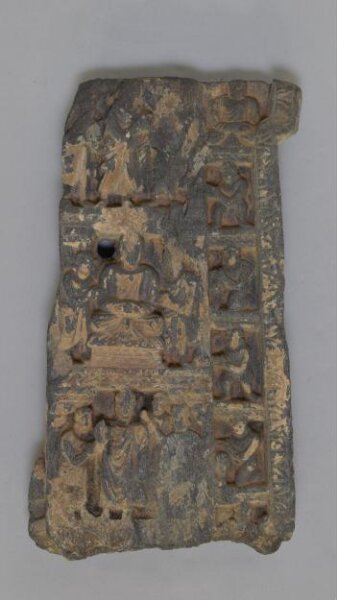 Relief4ویں صدی · Swat valley© Victoria and Albert Museum, London ↗
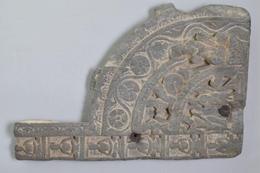 Relie panel4ویں صدی · Swat Valley© Victoria and Albert Museum, London ↗
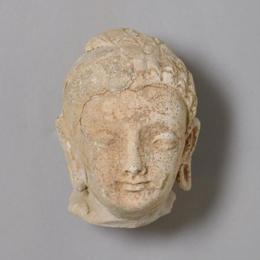 Stucco sculpture4th century - 5th century · گندھار© Victoria and Albert Museum, London ↗
 Head of a Bodhisattva, circa 4th century CE, Kushan Period, stucco, from HaddaAshmolean Museum, Oxford · photo SpeakingArch (Wikimedia Commons) · CC BY-SA ↗
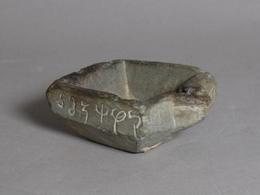 Lamp2nd to 4th century · سوات© Victoria and Albert Museum, London ↗
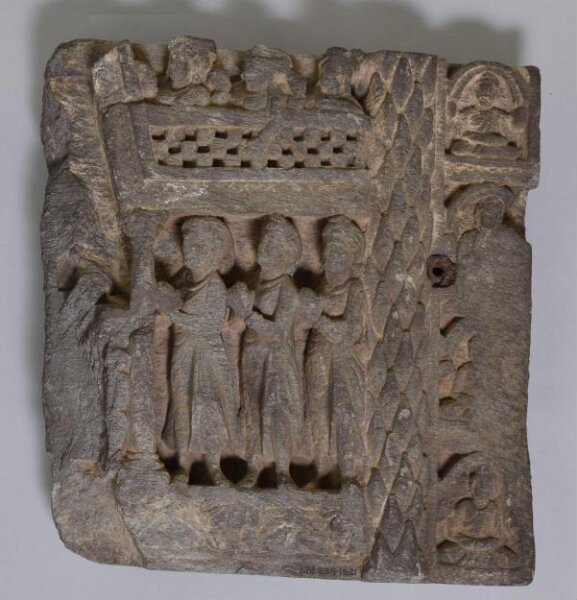 Relief4ویں صدی · Swat Valley© Victoria and Albert Museum, London ↗
 Fragment, Swat Valley4ویں صدی · Swat Valley© Victoria and Albert Museum, London ↗
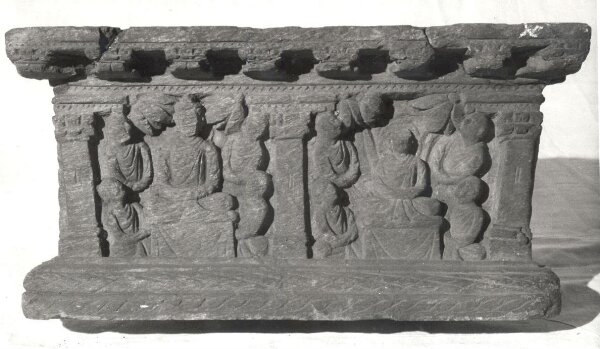 Relief4ویں صدی · Swat Valley© Victoria and Albert Museum, London ↗
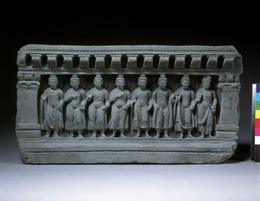 Seven historical Buddhas and Maitreya4ویں صدی · Swat Valley© Victoria and Albert Museum, London ↗
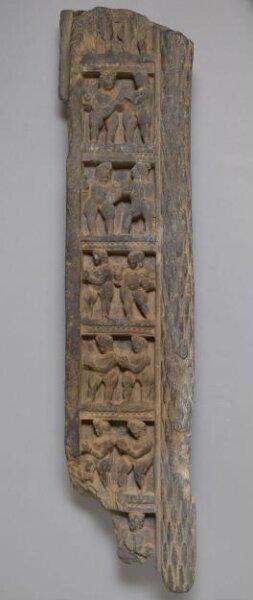 Fragment, Swat Valley4ویں صدی · Swat Valley© Victoria and Albert Museum, London ↗
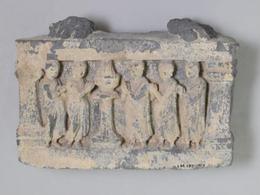 Relief panel, Swat Valley4ویں صدی · Swat Valley© Victoria and Albert Museum, London ↗
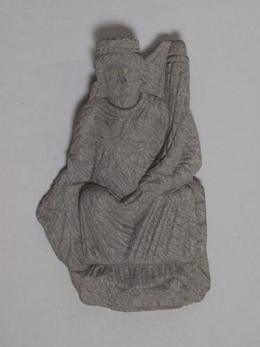 Figure, Swat Valley4th century-5th century · Swat Valley© Victoria and Albert Museum, London ↗
 Pakistan, Swat Valley, Gandhara region, 4th-5th century Sculpture Gray schist Various…LACMA, Los Angeles · photo Image: http://collections.lacma.org/sites/default/files/remo (Wikimedia Commons) ↗
 A Warrior Figure from the Army of Mara, Gandhara School of Art, c.300-400 CEAshmolean Museum, Oxford · photo SpeakingArch (Wikimedia Commons) · CC BY-SA ↗
 Head of a Worshipper, Gandhara School of Art, circa 4th century CE,Kushan PeriodAshmolean Museum, Oxford · photo SpeakingArch (Wikimedia Commons) · CC BY-SA ↗
 Head of an ascetic, Gandhara School of Art, 4th century CE, Kushan Period, stuccoAshmolean Museum, Oxford · photo SpeakingArch (Wikimedia Commons) · CC BY-SA ↗
 Afghanistan, Gandhara region, Hadda, 4th-5th century Sculpture Stucco with paint From…LACMA, Los Angeles · photo Wikimedia Commons (Wikimedia Commons) ↗
 Head of Buddha, circa 4th-5th century CE, Akhnoor, site of Ushkar (ancient Huvishkapur)Government Museum, Chandigarh · photo SpeakingArch (Wikimedia Commons) · CC BY-SA ↗
 Silver bowl from Buddhigharra, circa 300-450 CE, Pakistan, housed in the British MuseumBritish Museum, London · photo SpeakingArch (Wikimedia Commons) · CC BY-SA ↗
 Stucco head of a bearded man, 300-500 CE, Gandhara, Pakistan, British MuseumBritish Museum, London · photo SpeakingArch (Wikimedia Commons) · CC BY-SA ↗
 Bronze Buddha, c.400-70 CE, Sahri Bahlol, Gandhara Art, British Museum, LondonBritish Museum, London · photo SpeakingArch (Wikimedia Commons) · CC BY-SA ↗
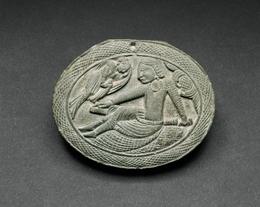 Oval Cosmetic Box Lid with a Man Being Entertained by a Lyrist5th/6th century · گندھارArt Institute of Chicago ↗
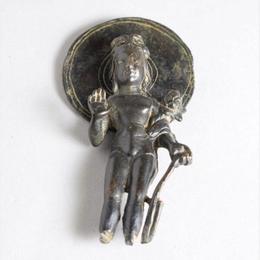 مورتیکلا5th century-6th century · Swat Valley© Victoria and Albert Museum, London ↗
 Seated Buddha with halo and mandorla 5th-6th century CE GandharaThe Met, New York · photo Metropolitan Museum of art (Wikimedia Commons) ↗
 Ancient region of Gandhara, 4th or 5th century TerracottaWikimedia Commons · Jnzl's Photos · CC BY ↗
 Torso of a monumental bodhisattva (Avalokitesvara), 5th century caThe Met, New York · photo sailko (Wikimedia Commons) · CC BY-SA ↗
 Head of a Buddha or Bodhisattva, facing (5th-6th century), probably Hadda, Tapa ShotorThe Met, New York · photo SpeakingArch (Wikimedia Commons) · CC BY-SA ↗
 Box Lid with a Lion Attacking an Elephant, Gandhara, 5th century CEThe Met, New York · photo Metropolitan Museum of Art (Wikimedia Commons) ↗
 Box Lid with a Phoenix, Gandhara, 5th century CEThe Met, New York · photo Metropolitan Museum of Art (Wikimedia Commons) ↗
 Box Lid with a Winged Lion and Remnant of an Iron Hinge, Gandhara, 5th century CEThe Met, New York · photo Metropolitan Museum of Art (Wikimedia Commons) ↗
 Fragment of a Lid with a Hunting Scene, Gandhara, 5-6th century CEThe Met, New York · photo Metropolitan Museum of Art (Wikimedia Commons) ↗
 Head of Bodhisattva, 500-700 CE, Ming-oi, China, late Gandharan style of Central Asia, V&AV&A, London · photo SpeakingArch (Wikimedia Commons) · CC BY-SA ↗
 Standing Maitreya, 8th century CE, Swat Valley or Gilgit regionThe Met, New York · photo Metropolitan Museum of Art (Wikimedia Commons) ↗
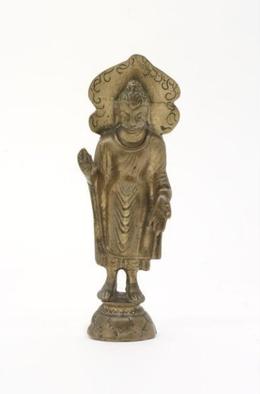 Figure, Gandhara9th century-10th Century · گندھار© Victoria and Albert Museum, London ↗
Search the museums' full collections
V&A ↗ · British Museum ↗ · The Met ↗ · Cleveland ↗ · Wellcome Collection ↗ · Wikimedia Commons ↗ · Ashmolean ↗ · Royal Collection ↗ · Pitt Rivers ↗
Shown here are the objects whose pictures museums have released openly. Far more are in their collections, and in museums with no open search, such as the Lahore Museum. Searching for "Gandhara".
Pictures from the collections of Art Institute of Chicago, Ashmolean Museum, Oxford, Asian Art Museum, San Francisco, Berlin-Dahlem Botanical Garden and Botanical Museum (via Europeana), Bhuri Singh Museum, Chamba, 65 more, found automatically: public domain or openly licensed, except the V&A's, shown for non-commercial use with the museum's credit. Titles and dates are the museums' own; each card names its museum and any licence. Updated 2026-10-26.